
How to install a 24V LED Module on a wall?
Thu 15,2025
Leave a message
Hey there! I'm stoked to share with you all the ins and outs of installing a 24V LED module on a wall. As a supplier of top - notch 24V LED modules, I've seen it all, and I'm here to make this installation process a breeze for you.
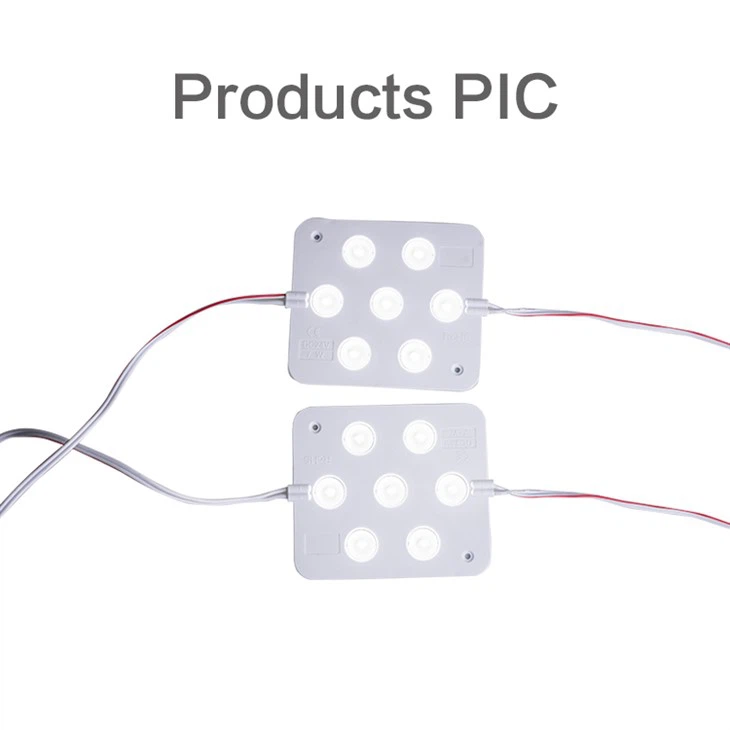
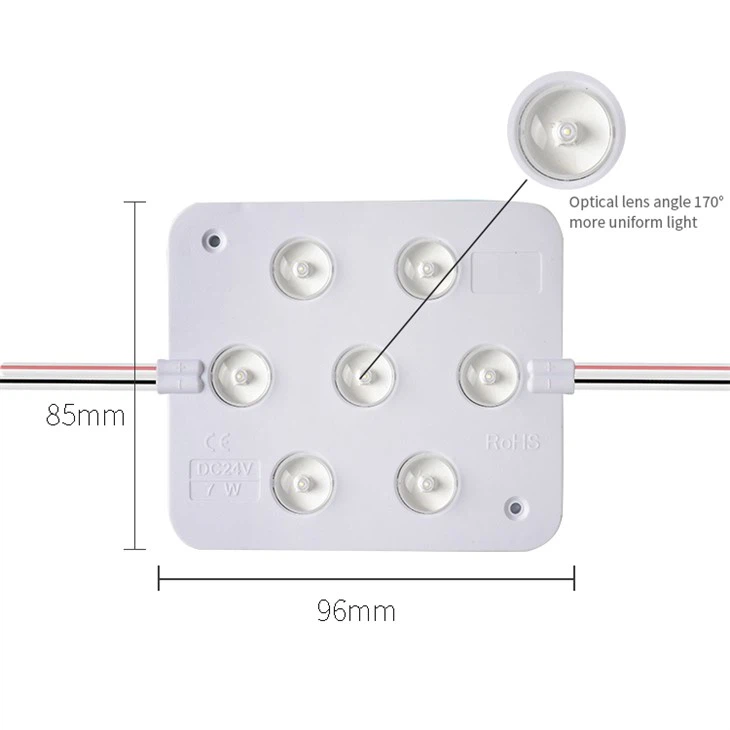
First things first, let's talk about why you'd want to install a 24V LED module on your wall. These modules are super versatile. Whether you're looking to add some ambient lighting to your living room, highlight a piece of art in a gallery, or illuminate a commercial space, 24V LED modules are a great choice. They're energy - efficient, long - lasting, and come in a variety of shapes and sizes. For instance, you can check out our 24V LED Module, 24V LED Square Module, and 24V LED Module High Power options.
Pre - installation Preparations
Before you start the actual installation, you need to do some prep work.
1. Plan Your Layout
Decide where exactly you want to install the LED module on the wall. Consider the purpose of the lighting. If it's for a display, make sure the light hits the object evenly. If it's for general ambient lighting, think about the overall look and how the light will spread. Measure the area where you'll be installing the module to ensure it fits properly.
2. Gather Your Tools
You'll need a few basic tools for this job. These include a drill, screws, a screwdriver, wire strippers, electrical tape, and a voltage tester. Make sure your tools are in good working condition before you start.
3. Check the Power Source
Ensure that you have a 24V power source available. This could be a power supply unit specifically designed for 24V LED modules. Double - check the voltage output of the power source to avoid any damage to the module.
Installation Steps
Step 1: Mounting the Bracket
Most 24V LED modules come with mounting brackets. Use your drill to attach the brackets to the wall at the pre - marked locations. Make sure the brackets are level and securely fastened. You can use screws to hold the brackets in place. Tighten the screws firmly, but be careful not to overtighten and damage the wall.
Step 2: Attaching the LED Module to the Bracket
Once the brackets are in place, carefully attach the 24V LED module to them. Align the holes on the module with the holes on the bracket and insert the appropriate screws. Again, use the screwdriver to tighten the screws gently.
Step 3: Wiring the LED Module
This is a crucial step, so pay close attention. First, use the wire strippers to remove a small amount of insulation from the wires of the power source and the LED module. Match the positive (+) and negative (-) wires correctly. Usually, the positive wire is red and the negative wire is black, but it's always a good idea to double - check. Connect the wires by twisting them together and then cover the connection with electrical tape to prevent any short - circuits.
Step 4: Testing the Connection
Before you fully secure everything, it's a good idea to test the connection. Turn on the power source and use a voltage tester to check if there's power reaching the LED module. If the module lights up, great! You've made a successful connection. If not, double - check your wiring and make sure all connections are secure.
Step 5: Finalizing the Installation
Once you've confirmed that the LED module is working, you can make any final adjustments. Ensure that the module is properly aligned on the wall and that it's sitting flush against the brackets. If there are any loose wires, tuck them away neatly to give the installation a clean look.
Troubleshooting
Even if you follow all the steps correctly, you might run into some issues. Here are some common problems and how to fix them:
1. The LED Module Doesn't Light Up
First, check the power source. Make sure it's turned on and that it's providing the correct 24V voltage. Then, double - check your wiring connections. Loose or incorrect connections are often the cause of this problem.
2. Flickering Lights
Flickering lights can be caused by a few things. It could be a problem with the power supply, such as an unstable voltage. Check the power supply unit and make sure it's functioning properly. Another possible cause is a loose wire connection. Inspect all the wiring and tighten any loose connections.
3. Uneven Lighting
If you notice that the lighting from the LED module is uneven, it could be due to improper positioning. Try adjusting the angle of the module or re - positioning it on the wall to achieve a more even distribution of light.
Maintenance Tips
To keep your 24V LED module in top condition, here are some maintenance tips:
1. Regular Cleaning
Dust and dirt can accumulate on the surface of the LED module over time, which can affect its brightness. Use a soft, dry cloth to gently clean the module every few months.
2. Check the Wiring
Periodically inspect the wiring connections to make sure they're still secure. Loose wires can lead to problems with the module's performance.
3. Monitor the Power Source
Keep an eye on the power source to ensure it's providing a stable 24V voltage. If you notice any issues with the power supply, replace it as soon as possible.
Why Choose Our 24V LED Modules?
As a supplier, we take pride in offering high - quality 24V LED modules. Our modules are made from top - grade materials, which ensures their durability and long - term performance. We have a wide range of options to choose from, whether you need a small, low - power module or a large, high - power one. Plus, our customer support team is always ready to assist you with any questions or concerns you might have during the installation process.
If you're interested in purchasing our 24V LED modules or have any questions about installation, don't hesitate to reach out. We're here to help you create the perfect lighting solution for your space.
References
- General knowledge about LED module installation from industry experience.
- Technical specifications of 24V LED modules provided by manufacturers.
