
Are LED side light bars easy to install?
Fri 30,2025
Leave a message
LED side light bars have gained significant popularity in recent years, finding their applications in a wide range of fields from automotive customization to interior decor. As a supplier of high - quality LED side light bars, I often receive inquiries from customers regarding the installation process. So, the question arises: Are LED side light bars easy to install? In this blog, I'll delve into this topic in detail, sharing key insights and practical tips to help you make an informed decision.
Understanding LED Side Light Bars
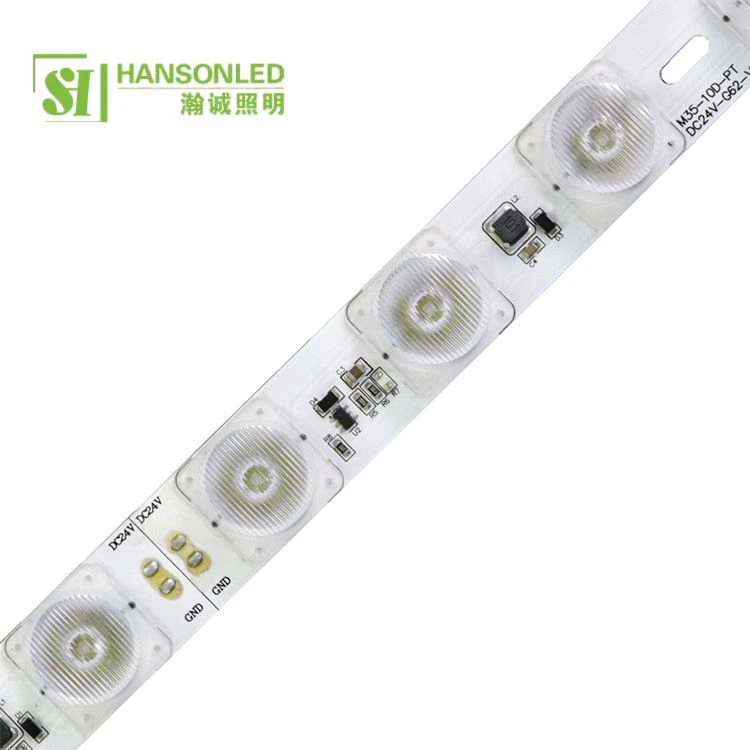
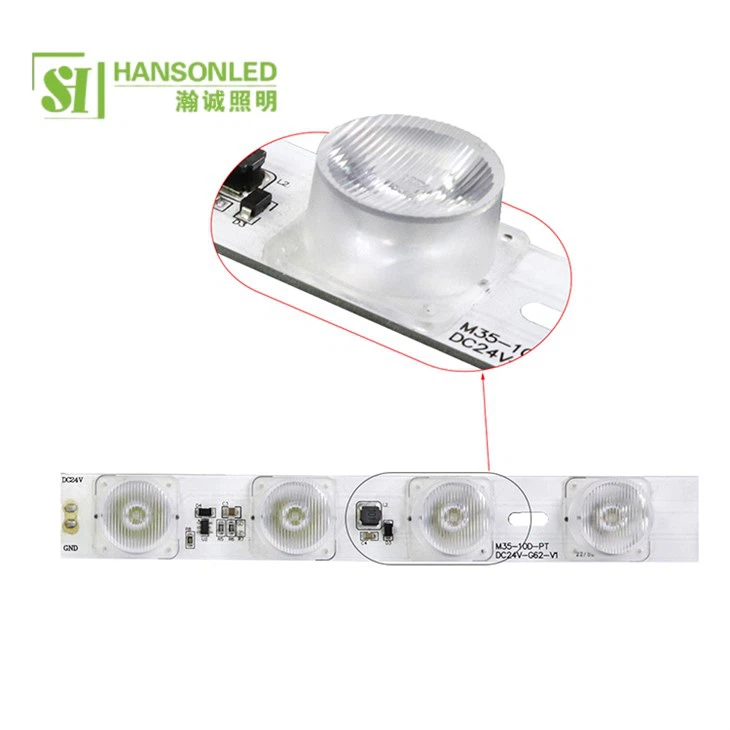
Before discussing the installation process, let's first get a clear understanding of what LED side light bars are. There are mainly three types of our products: the Side - lit LED strip, Edge - lit LED ribbon, and LED Rigid Bar.
Side - lit LED strips are known for their uniform light distribution and flexibility. They are typically equipped with a certain number of LEDs, such as 18 LEDs in some of our models. These strips can be bent to a certain degree, allowing for customized installation in various curves and shapes. They are ideal for applications where a gentle, diffused light is required, like under - cabinet lighting or cove lighting in interior design.
Edge - lit LED ribbons, on the other hand, are designed to emit light from the edges. With a smaller number of LEDs, for example, 10 LEDs in specific products, they are more focused on creating a well - defined light source. Edge - lit ribbons are often used for highlighting architectural features or adding a decorative touch to display cases.
LED rigid bars are robust and stable light - emitting devices. They offer high - intensity illumination and are suitable for more demanding environments. Because of their rigid structure, they can be installed in a straightforward manner in many industrial or commercial settings.
Factors Affecting the Ease of Installation
Installation Location
The location where you plan to install the LED side light bar plays a crucial role in determining the ease of installation. For interior settings, like living rooms, kitchens, or offices, it is generally easier to install the light bars. Most indoor surfaces are flat, accessible, and safe to work with. For instance, mounting a side - lit LED strip under a kitchen cabinet only requires a simple surface preparation and attachment. You can use adhesive tapes or clips that come with the light bar for a quick and secure installation.
In contrast, outdoor and automotive installations are more challenging. Outdoor installations need to consider weatherproofing and environmental factors. Mounting an LED side light bar on a vehicle may involve complex wiring and modifications to the existing electrical system. You need to ensure that the light bar is firmly attached to the vehicle to withstand vibrations and rough driving conditions.
Wiring Complexity
Wiring is another significant factor. For simple, battery - powered LED side light bars, the installation process is relatively straightforward. You just need to connect the light bar to the battery following the provided instructions. These types of light bars are great for small - scale projects like DIY crafts or temporary lighting setups.
However, if you are dealing with hard - wired light bars, especially those that need to be integrated into an existing electrical network, the wiring can be quite complex. For example, installing a LED rigid bar in a commercial building may require connecting it to the building's electrical panel. This often demands a basic understanding of electrical systems and compliance with local electrical codes. Incorrect wiring can not only lead to poor performance but also pose a safety hazard.
Mounting Requirements
The mounting method of LED side light bars can vary. Some light bars come with pre - drilled holes for screw - mounting, which is a common and secure way to attach them. This method is suitable for more permanent installations and provides good stability. However, screw - mounting requires drilling holes in the installation surface, which may not be appropriate for some materials like glass or delicate furniture.
Adhesive mounting is another option. It is simple and non - invasive, making it a popular choice for many users. Most LED side light bars come with double - sided adhesive tape on the back. You just need to peel off the backing and stick the light bar to the desired surface. However, the effectiveness of adhesive mounting depends on the cleanliness and smoothness of the surface. A dirty or uneven surface can cause the light bar to detach over time.
Step - by - Step Installation Guide
Step 1: Preparation
First, gather all the necessary tools. These may include a screwdriver (if screw - mounting), scissors or a cutter (to trim the light bar if needed), electrical tape, and a voltage tester. Make sure you have read the installation manual carefully and understand all the instructions.
Next, prepare the installation surface. Clean the surface thoroughly to remove dust, grease, or any other contaminants. For adhesive mounting, a clean surface is essential for a strong bond. If you are mounting the light bar outdoors or in a damp environment, you may need to apply a protective coating or use a weatherproof enclosure to ensure its longevity.
Step 2: Measuring and Cutting
Measure the length of the area where you want to install the light bar. If the light bar is too long, you can trim it to the appropriate length according to the cutting guidelines provided. Most LED side light bars have marked cutting points, and it's important to cut only at these points to avoid damaging the LEDs.
Step 3: Mounting
If you are using adhesive mounting, peel off the backing from the double - sided tape on the light bar and carefully attach it to the prepared surface. Press firmly along the length of the light bar to ensure good contact. For screw - mounting, place the light bar in the desired position, mark the holes, and then drill them. Insert the screws and tighten them carefully.
Step 4: Wiring
Connect the light bar to the power source. For battery - powered light bars, connect the positive and negative terminals to the battery correctly. For hard - wired light bars, follow the wiring diagram in the manual. Use electrical tape to insulate the connections and prevent short - circuits. After wiring, use a voltage tester to check if the light bar is receiving the correct voltage.
Step 5: Testing
Once everything is connected, switch on the power to test the light bar. Check for any flickering, uneven lighting, or other issues. If there are problems, double - check all the connections and ensure that the installation was done correctly.
Conclusion and Call to Action
In conclusion, whether LED side light bars are easy to install depends on various factors such as installation location, wiring complexity, and mounting requirements. For basic indoor installations with simple wiring and mounting needs, the installation can be quite easy, even for those with limited DIY experience. However, more demanding applications like outdoor and automotive installations may require professional assistance.
As a reliable supplier of LED side light bars, we are committed to providing high - quality products and excellent after - sales support. Our team of experts can offer you detailed installation guidance and answer any questions you may have during the installation process.
If you are interested in purchasing our LED side light bars for your next project, we encourage you to get in touch with us. We will discuss your specific requirements, provide customized solutions, and offer competitive pricing. Contact us today to start your lighting journey with our top - notch LED side light bars.
References
- "LED Lighting Handbook" - A comprehensive guide on LED technology and installation principles.
- Manufacturer's manuals and technical specifications for our Side - lit LED strip, Edge - lit LED ribbon, and LED Rigid Bar products.
