
How to install a multi - color Regular LED Strip?
Thu 05,2025
Leave a message
Installing a multi-color Regular LED Strip can transform any space into a vibrant and dynamic environment. As a trusted Regular LED Strip supplier, I'm here to guide you through the process, ensuring a successful installation that meets your lighting needs. Whether you're looking to add a pop of color to your living room, create an eye-catching display in your business, or enhance the ambiance of an event, a multi-color LED strip is a versatile and cost-effective solution.
Understanding Your LED Strip
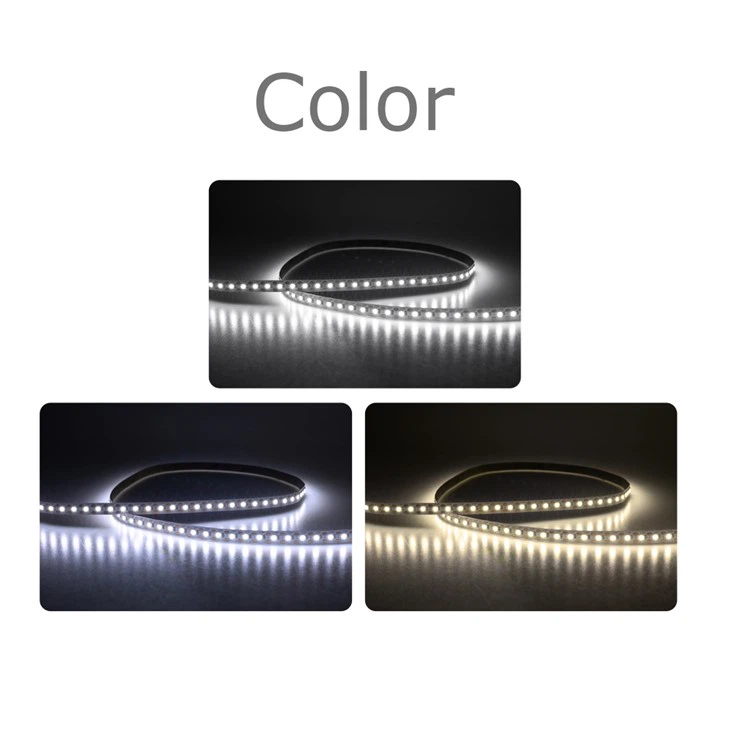
Before you begin the installation process, it's essential to understand the different types of multi-color Regular LED Strips available. At our company, we offer a range of options, including the 5mm LED Strip Light, the 2835 LED Strip 1 LED Cut, and the Double Line 2835 LED Strip. Each type has its own unique features and benefits, so it's important to choose the one that best suits your specific requirements.
- 5mm LED Strip Light: This type of LED strip is known for its compact size and flexibility, making it ideal for applications where space is limited. It offers a bright and uniform light output, making it perfect for accent lighting and decorative purposes.
- 2835 LED Strip 1 LED Cut: The 2835 LED Strip is a popular choice due to its high brightness and energy efficiency. It can be cut every 1 LED, allowing for greater flexibility in installation and customization. This strip is suitable for a wide range of applications, from residential to commercial.
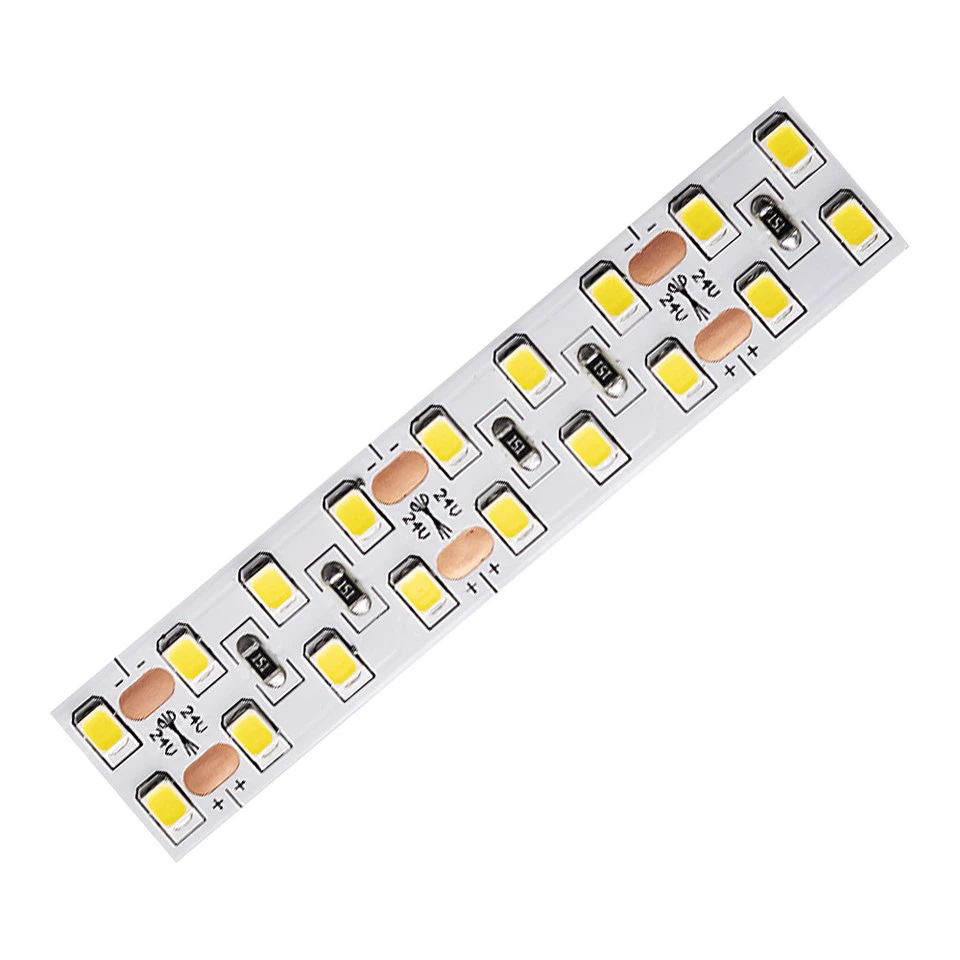
- Double Line 2835 LED Strip: As the name suggests, the Double Line 2835 LED Strip features two lines of LEDs, providing a more intense and vibrant light output. It's perfect for creating a bold and dramatic lighting effect, making it a great choice for stage lighting, retail displays, and other high-impact applications.
Tools and Materials You'll Need
To install your multi-color Regular LED Strip, you'll need the following tools and materials:
- LED Strip: Choose the type and length of LED strip that best suits your needs.
- Power Supply: Make sure the power supply is compatible with the voltage and wattage requirements of your LED strip.
- Soldering Iron and Solder: If you need to make electrical connections, a soldering iron and solder will be necessary.
- Wire Cutters and Strippers: These tools are used to cut and strip the wires for the LED strip and power supply.
- Adhesive Tape or Mounting Brackets: Depending on the installation surface, you may need adhesive tape or mounting brackets to secure the LED strip in place.
- Electrical Tape: Use electrical tape to insulate the electrical connections and prevent short circuits.
- Remote Control or Controller: If you want to control the color and brightness of your LED strip, you'll need a remote control or controller.
Step-by-Step Installation Guide
Now that you have all the necessary tools and materials, it's time to start the installation process. Follow these steps to ensure a successful installation:
Step 1: Plan Your Installation
Before you start cutting and installing the LED strip, it's important to plan out your installation. Decide where you want to install the LED strip and measure the length of the area to determine how much strip you'll need. Consider the layout of the space and any obstacles that may affect the installation, such as corners, edges, or furniture.
Step 2: Prepare the Installation Surface
Clean the installation surface to ensure that the LED strip will adhere properly. Remove any dust, dirt, or debris from the surface using a clean cloth or sponge. If the surface is rough or uneven, you may need to sand it down to create a smooth and flat surface.
Step 3: Cut the LED Strip
Using a pair of wire cutters, cut the LED strip to the desired length. Make sure to cut the strip at the designated cutting points, which are usually marked on the strip. This will ensure that the LEDs and electrical connections remain intact.
Step 4: Connect the Power Supply
Connect the power supply to the LED strip using the appropriate wires. Make sure to match the positive (+) and negative (-) terminals correctly to avoid short circuits. If necessary, use a soldering iron and solder to make the electrical connections. Once the connections are made, insulate them with electrical tape to prevent any exposed wires.
Step 5: Mount the LED Strip
Use adhesive tape or mounting brackets to secure the LED strip to the installation surface. Make sure the strip is straight and evenly spaced, and press it firmly onto the surface to ensure a good adhesion. If you're using mounting brackets, make sure they are securely attached to the surface and the LED strip is properly seated in the brackets.
Step 6: Connect the Remote Control or Controller
If you're using a remote control or controller to operate the LED strip, follow the manufacturer's instructions to connect it to the power supply and the LED strip. This will allow you to control the color, brightness, and other settings of the LED strip with ease.
Step 7: Test the LED Strip
Once the installation is complete, plug in the power supply and test the LED strip to make sure it's working properly. Use the remote control or controller to adjust the color and brightness settings and check for any issues or malfunctions. If you encounter any problems, refer to the manufacturer's troubleshooting guide or contact our customer support team for assistance.
Tips and Tricks for a Successful Installation
- Use a heat sink: If you're installing the LED strip in an enclosed space or in an area where heat buildup is a concern, consider using a heat sink to dissipate the heat and prevent the LEDs from overheating.
- Avoid over-bending the LED strip: While LED strips are flexible, it's important to avoid over-bending them, as this can damage the LEDs and the electrical connections. Make sure to follow the manufacturer's guidelines for minimum bending radius.
- Protect the LED strip from moisture and dust: To ensure the longevity and performance of your LED strip, it's important to protect it from moisture and dust. Use a waterproof or dustproof enclosure if necessary, especially in outdoor or high-humidity environments.
- Label the connections: To make it easier to troubleshoot and maintain the LED strip in the future, label the electrical connections and the components of the installation. This will help you identify any issues quickly and make the necessary repairs or adjustments.
Conclusion
Installing a multi-color Regular LED Strip is a relatively simple and straightforward process that can be completed by anyone with basic DIY skills. By following the steps outlined in this guide and using the right tools and materials, you can create a stunning and customized lighting solution for your home, business, or event. If you have any questions or need further assistance, please don't hesitate to contact us. We're here to help you every step of the way.
As a leading Regular LED Strip supplier, we offer a wide range of high-quality LED strips at competitive prices. Whether you're a DIY enthusiast or a professional installer, we have the products and expertise to meet your needs. If you're interested in purchasing our LED strips or have any questions about our products or services, please feel free to contact us for more information. We look forward to working with you to create the perfect lighting solution for your project.
References
- LED Lighting Institute. (n.d.). LED Strip Lighting Installation Guide. Retrieved from [LED Lighting Institute Website]
- Philips Lighting. (n.d.). How to Install LED Strip Lights. Retrieved from [Philips Lighting Website]
- Sylvania Lighting. (n.d.). LED Strip Lighting: Installation and Usage Guide. Retrieved from [Sylvania Lighting Website]
