
How to clean the 2835 LED Strip 240 LED?
Fri 20,2025
Leave a message
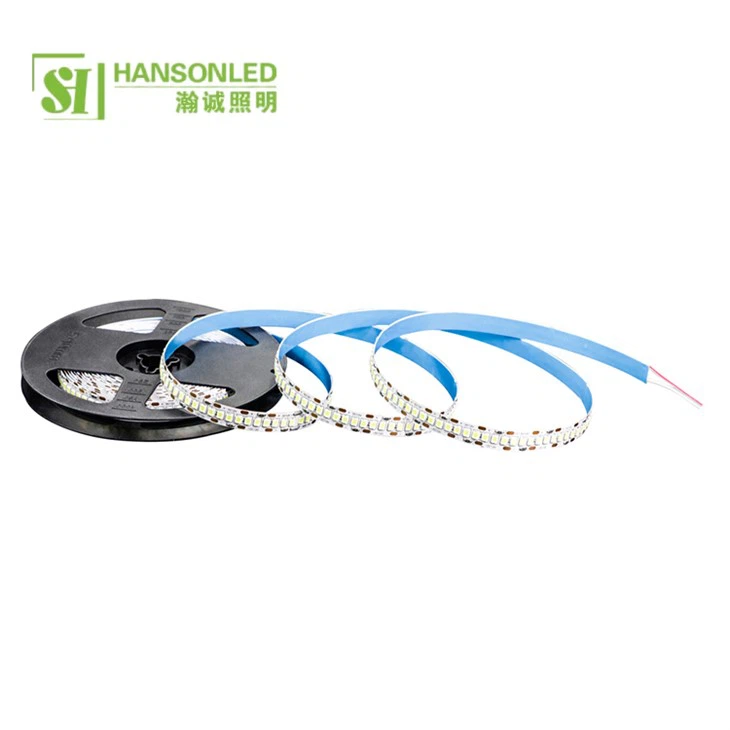
Cleaning your 2835 LED Strip 240 LED is an essential maintenance task that can significantly extend its lifespan and ensure optimal performance. As a leading supplier of [link text="2835 LED Strip 240 LED" url="/products/led-strip/regular-led-strip/2835-led-strip-240-led.html"], I've encountered numerous inquiries about the proper cleaning methods. In this blog, I'll share some professional insights and practical steps to guide you through the cleaning process.
Understanding the 2835 LED Strip 240 LED
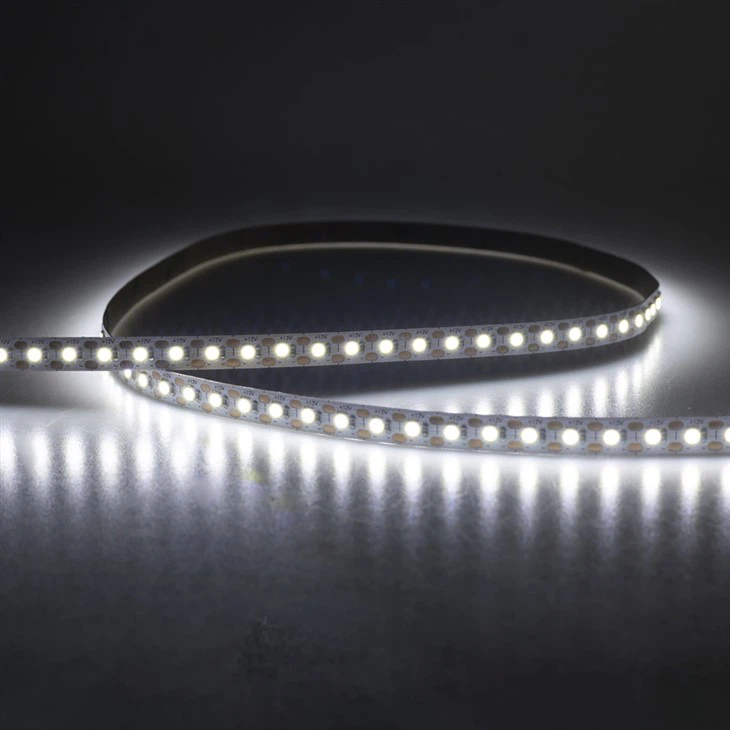
Before diving into the cleaning process, it's crucial to understand the nature of the 2835 LED Strip 240 LED. These LED strips are known for their high brightness, energy efficiency, and long lifespan. They are widely used in various applications, including residential lighting, commercial displays, and decorative lighting. The 240 LEDs per meter configuration provides a uniform and intense light output, making them a popular choice for many lighting projects.
However, like any electronic device, LED strips are susceptible to dust, dirt, and other contaminants over time. These particles can accumulate on the surface of the LEDs and the circuit board, reducing the light output and potentially causing damage to the components. Regular cleaning can prevent these issues and keep your LED strips looking and performing their best.
Preparing for Cleaning
Before you start cleaning your 2835 LED Strip 240 LED, it's important to take some precautions to ensure your safety and the integrity of the LED strip. Here are the steps you should follow:
- Turn off the power: Always turn off the power supply to the LED strip before cleaning. This will prevent any electrical shock and protect the LED strip from damage.
- Gather your cleaning supplies: You'll need a few basic cleaning supplies, including a soft microfiber cloth, a mild cleaning solution, and a can of compressed air. Avoid using abrasive materials or harsh chemicals, as these can scratch the surface of the LEDs and damage the circuit board.
- Remove the LED strip: If possible, remove the LED strip from the installation location. This will make it easier to clean and allow you to access all areas of the strip. However, be careful not to bend or twist the LED strip, as this can cause damage to the components.
Cleaning the LED Strip
Once you've prepared for cleaning, you can start the cleaning process. Here are the steps you should follow:
- Blow away loose debris: Use a can of compressed air to blow away any loose dust or dirt from the surface of the LED strip. Hold the can of compressed air about 6 inches away from the LED strip and spray in short bursts. This will remove any large particles and make the cleaning process easier.
- Apply the cleaning solution: Moisten the microfiber cloth with a mild cleaning solution. You can use a mixture of water and a small amount of dish soap or a specialized LED cleaning solution. Avoid using too much liquid, as this can seep into the circuit board and cause damage.
- Wipe the LED strip: Gently wipe the surface of the LED strip with the damp microfiber cloth. Use a light pressure and move the cloth in a circular motion to remove any dirt or grime. Pay special attention to the areas around the LEDs and the solder joints, as these are the areas where dirt and debris tend to accumulate.
- Dry the LED strip: After wiping the LED strip, use a dry microfiber cloth to remove any excess moisture. Make sure the LED strip is completely dry before reinstalling it.
- Inspect the LED strip: Once the LED strip is dry, inspect it for any signs of damage or wear. Look for any cracks, chips, or other visible defects. If you notice any issues, contact your LED strip supplier for further assistance.
Cleaning the Installation Surface
In addition to cleaning the LED strip itself, it's also important to clean the installation surface. This will prevent any dirt or debris from accumulating on the LED strip and ensure a secure and stable installation. Here are the steps you should follow:
- Remove any debris: Use a vacuum cleaner or a soft brush to remove any loose dirt or debris from the installation surface. This will prevent any particles from scratching the LED strip during installation.
- Clean the surface: Use a mild cleaning solution and a microfiber cloth to clean the installation surface. Wipe the surface in a circular motion to remove any dirt or grime. Make sure the surface is completely dry before installing the LED strip.
- Inspect the surface: Once the surface is clean, inspect it for any signs of damage or unevenness. If you notice any issues, repair or replace the surface before installing the LED strip.
Reinstalling the LED Strip
After cleaning the LED strip and the installation surface, you can reinstall the LED strip. Here are the steps you should follow:
- Align the LED strip: Carefully align the LED strip with the installation surface, making sure the positive and negative terminals are correctly connected. Use a mounting tape or clips to secure the LED strip in place.
- Connect the power supply: Once the LED strip is installed, connect the power supply. Make sure the power supply is compatible with the LED strip and that the voltage and current ratings are correct.
- Test the LED strip: Turn on the power supply and test the LED strip to make sure it's working properly. Check for any flickering, dimming, or other issues. If you notice any problems, turn off the power supply and contact your LED strip supplier for further assistance.
Frequency of Cleaning
The frequency of cleaning your 2835 LED Strip 240 LED depends on several factors, including the environment in which the LED strip is installed and the amount of use it receives. In general, it's recommended to clean your LED strips at least once every six months to prevent the accumulation of dust and dirt.
However, if your LED strips are installed in a dusty or dirty environment, such as a workshop or a garage, you may need to clean them more frequently. Similarly, if your LED strips are used for long periods of time or in high-traffic areas, you may also need to clean them more often.
Conclusion
Cleaning your 2835 LED Strip 240 LED is a simple and effective way to maintain their performance and extend their lifespan. By following the steps outlined in this blog, you can ensure that your LED strips look and perform their best for years to come.
If you have any questions or need further assistance with cleaning your LED strips, please don't hesitate to contact us. As a leading supplier of [link text="2835 LED Strip 240 LED" url="/products/led-strip/regular-led-strip/2835-led-strip-240-led.html"], [link text="2835 LED Strip 60 LED" url="/products/led-strip/regular-led-strip/2835-led-strip-60-led.html"], and [link text="2835 LED Strip 1 LED Cut" url="/products/led-strip/regular-led-strip/2835-led-strip-1-led-cut.html"], we have the expertise and experience to help you with all your lighting needs. We offer a wide range of LED strips, accessories, and lighting solutions, and our team of experts is always available to provide you with personalized advice and support.
Whether you're a DIY enthusiast or a professional lighting installer, we're here to help you find the right LED strips for your project. Contact us today to learn more about our products and services, and let us help you create the perfect lighting solution for your space.
References
- LED Lighting: Principles and Applications, by John A. Wohlgemuth
- The LED Handbook, by Chris D. Hawley
- Lighting Basics: LED Lighting, by the U.S. Department of Energy
