
How to install a high voltage LED strip?
Mon 06,2025
Leave a message
Hey there! As a supplier of High Voltage LED Strips, I've seen a lot of folks scratching their heads when it comes to installing these bad boys. So, I thought I'd put together a handy guide to walk you through the process step by step. Whether you're a DIY enthusiast or a professional installer, this guide should help you get your High Voltage LED Strip up and running in no time.
What You'll Need
Before we dive into the installation process, let's talk about the tools and materials you'll need. Here's a quick list:
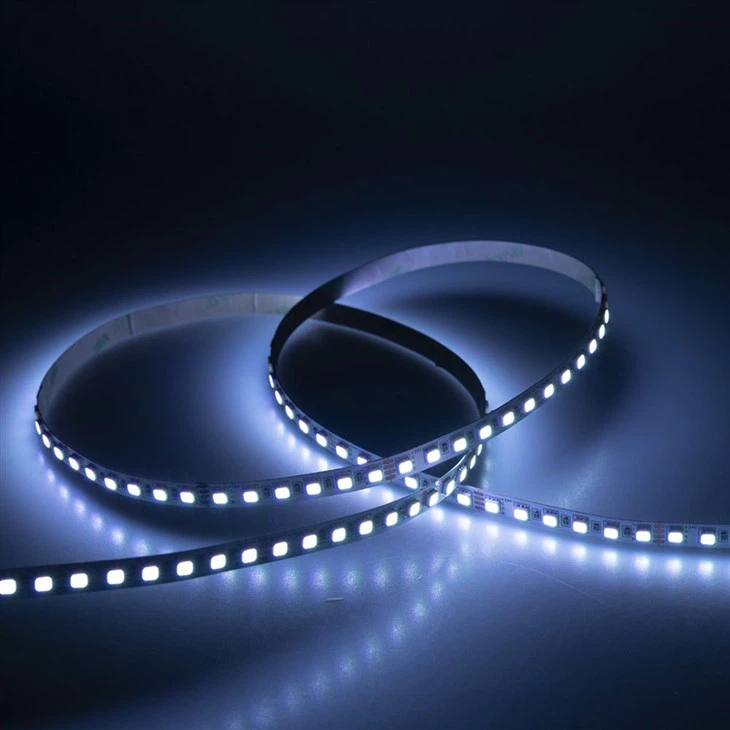
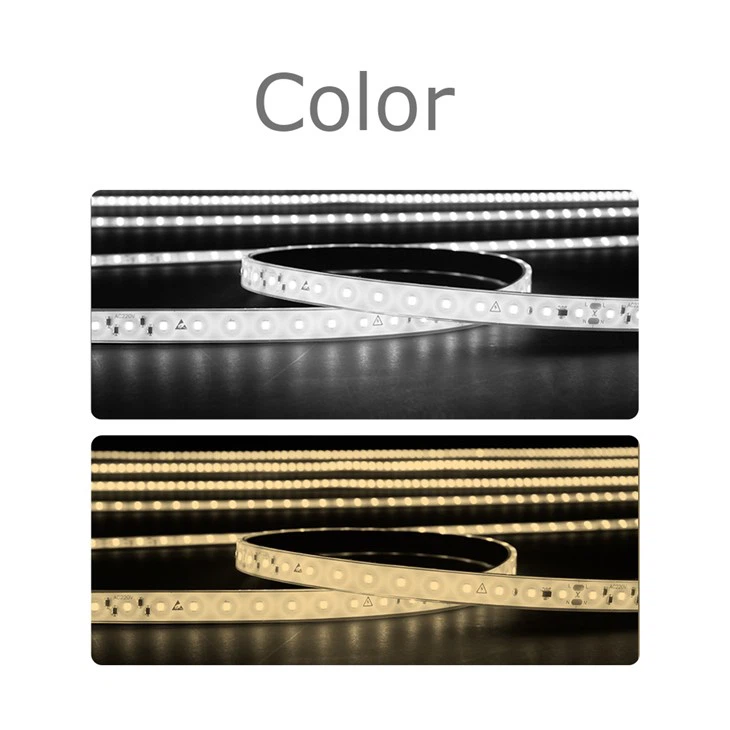
- High Voltage LED Strip: You can choose between the High Voltage LED Strip 60 LED or the High Voltage LED Strip 120 LED, depending on your lighting needs.
- Power Supply: Make sure you get a power supply that's compatible with your LED strip. Check the voltage and wattage requirements of your strip before making a purchase.
- Soldering Iron and Solder: You'll need these to connect the LED strip to the power supply.
- Electrical Tape: This will help you insulate the connections and prevent any short circuits.
- Mounting Tape or Clips: These are used to attach the LED strip to the surface where you want to install it.
- Scissors or Wire Cutters: You'll need these to cut the LED strip to the desired length.
Step 1: Plan Your Installation
The first step in any installation project is to plan it out. Decide where you want to install the LED strip and measure the length of the area. This will help you determine how much LED strip you need to purchase. You should also consider the power source and the location of the power supply. Make sure it's easily accessible and close to the installation area.
Step 2: Prepare the Surface
Once you've planned your installation, it's time to prepare the surface where you'll be installing the LED strip. Clean the surface thoroughly to remove any dirt, dust, or debris. This will ensure that the mounting tape or clips adhere properly. If you're installing the LED strip on a curved surface, you may need to use a flexible mounting tape or clips.
Step 3: Cut the LED Strip
Most High Voltage LED Strips come with cutting marks at regular intervals. Use scissors or wire cutters to cut the strip at these marks. Make sure you cut the strip straight and cleanly. If you need to cut the strip at a different location, make sure you cut it between the copper pads to avoid damaging the LEDs.
Step 4: Connect the LED Strip to the Power Supply
Now it's time to connect the LED strip to the power supply. Start by soldering the wires from the power supply to the copper pads on the LED strip. Make sure you connect the positive wire to the positive pad and the negative wire to the negative pad. Use a soldering iron and solder to make a secure connection. Once you've soldered the wires, use electrical tape to insulate the connections and prevent any short circuits.
Step 5: Mount the LED Strip
After you've connected the LED strip to the power supply, it's time to mount it to the surface. Use mounting tape or clips to attach the strip to the surface. Make sure the strip is straight and evenly spaced. If you're using mounting tape, make sure you press down firmly to ensure a good adhesion. If you're using clips, make sure they're securely attached to the surface.
Step 6: Test the LED Strip
Once you've mounted the LED strip, it's time to test it. Plug in the power supply and turn on the switch. If the LED strip lights up, congratulations! You've successfully installed your High Voltage LED Strip. If the strip doesn't light up, check the connections and make sure they're secure. You may also need to check the power supply to make sure it's working properly.
Step 7: Secure the Connections
After you've tested the LED strip, it's important to secure the connections to prevent any loose wires or short circuits. Use electrical tape to wrap around the connections and make sure they're well-insulated. You can also use zip ties or cable clips to secure the wires and keep them organized.
Step 8: Enjoy Your New Lighting!
Once you've secured the connections, it's time to sit back and enjoy your new lighting. High Voltage LED Strips are a great way to add some ambiance and style to any room. Whether you're using them for accent lighting, task lighting, or decorative purposes, they're sure to make a statement.
Tips and Tricks
- Use a Heat Shrink Tubing: Instead of using electrical tape, you can use heat shrink tubing to insulate the connections. This will provide a more professional and durable finish.
- Avoid Overloading the Power Supply: Make sure you don't overload the power supply by connecting too many LED strips to it. Check the wattage and voltage requirements of the power supply and the LED strips before making a connection.
- Use a Dimmer Switch: If you want to control the brightness of the LED strip, you can use a dimmer switch. This will allow you to adjust the lighting to your desired level.
- Be Careful When Handling the LED Strip: High Voltage LED Strips are sensitive to static electricity. Make sure you ground yourself before handling the strip to avoid damaging the LEDs.
Conclusion
Installing a High Voltage LED Strip may seem like a daunting task, but it's actually quite simple if you follow these steps. By planning your installation, preparing the surface, cutting the strip, connecting it to the power supply, mounting it, testing it, and securing the connections, you can have your new lighting up and running in no time. If you have any questions or need further assistance, don't hesitate to reach out. We're here to help you with all your High Voltage LED Strip needs.
If you're interested in purchasing High Voltage LED Strips for your next project, feel free to contact us. We offer a wide range of LED strips and accessories at competitive prices. Our team of experts can also provide you with technical support and advice to ensure your installation is a success. Let's work together to create the perfect lighting solution for your space!
References
- LED Lighting Handbook: A Comprehensive Guide to LED Technology and Applications
- Electrical Installation Guide for Beginners
- DIY Lighting Projects: Ideas and Inspiration for Home Decor
