
How to install an LED Back Light Bar in a laptop?
Tue 07,2025
Leave a message
Installing an LED back light bar in a laptop can significantly enhance your visual experience, making your laptop screen brighter, more vivid, and adding a touch of style. As a trusted LED back light bar supplier, I'm here to guide you through the entire process. In this blog, I'll share detailed steps on how to install an LED back light bar in a laptop, along with some useful tips and considerations.
Step 1: Gather the Necessary Tools and Materials
Before you start the installation process, it's essential to gather all the tools and materials you'll need. Here's a list to help you get prepared:
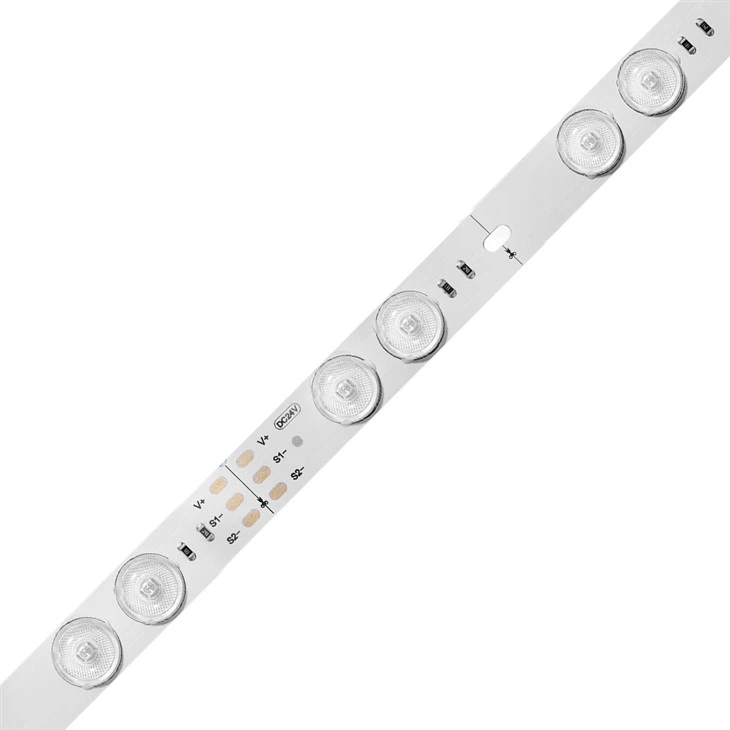
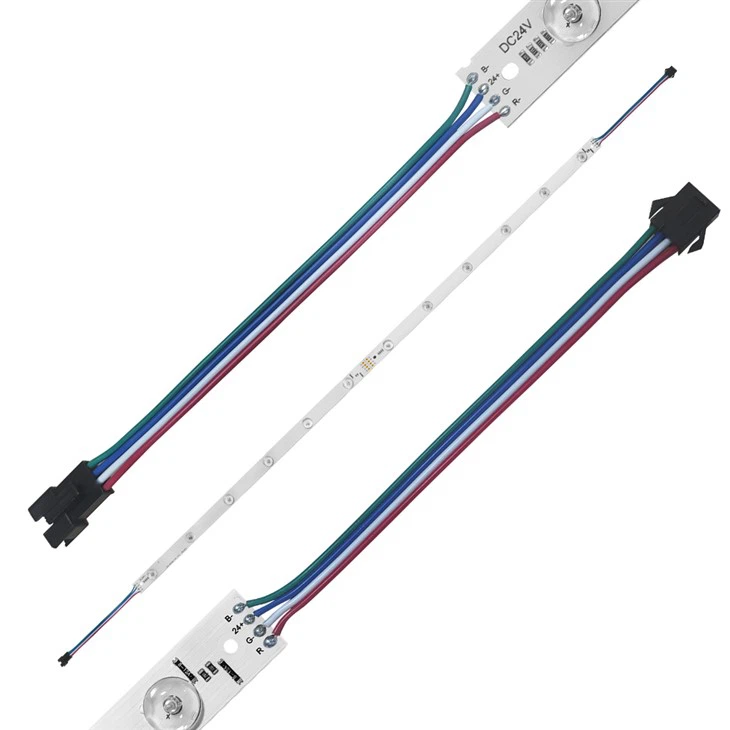
- LED Back Light Bar: Choose the right LED back light bar for your laptop. We offer a wide range of options, including CCT LED Lens Bar, Dual Color Led Lens Bar ,color Changeable Lens Bar, Waterproof LED Light Bar, and RGB Lens Bar, RGB Light Bar, RGB Control Light Bar ,color Changeable Light Bar. Select the one that suits your needs and preferences.
- Screwdriver Set: You'll need a set of screwdrivers to open the laptop case. Make sure you have the appropriate sizes for your laptop.
- Tweezers: Tweezers can be handy for handling small components and wires during the installation.
- Isopropyl Alcohol and Cotton Swabs: These are used to clean the area where the LED back light bar will be installed.
- Double-Sided Tape: This is used to secure the LED back light bar in place.
Step 2: Power Off and Disconnect Your Laptop
Before you begin working on your laptop, it's crucial to power it off and disconnect it from the power source. This will prevent any electrical damage and ensure your safety during the installation process.
Step 3: Remove the Laptop Case
Using the screwdriver set, carefully remove the screws from the back of the laptop case. Keep the screws in a safe place to avoid losing them. Once all the screws are removed, gently pry open the laptop case using a plastic opening tool or your fingers. Be careful not to apply too much force, as this could damage the case or other components.
Step 4: Locate the Backlight Area
Once the laptop case is open, locate the area where the backlight is located. This is usually behind the laptop screen. You may need to remove some additional components or cables to access the backlight area. Refer to your laptop's user manual or online resources for specific instructions on how to access the backlight area for your laptop model.
Step 5: Clean the Installation Area
Using isopropyl alcohol and cotton swabs, clean the area where the LED back light bar will be installed. This will ensure a good adhesion and prevent any dust or debris from interfering with the installation.
Step 6: Install the LED Back Light Bar
Peel off the backing from the double-sided tape on the LED back light bar and carefully place it in the cleaned installation area. Make sure the LED back light bar is aligned properly and securely attached to the surface. Use tweezers to adjust the position if necessary.
Step 7: Connect the LED Back Light Bar
Once the LED back light bar is installed, connect it to the laptop's power source. This may involve connecting a cable to the motherboard or a power connector. Refer to the LED back light bar's user manual or online resources for specific instructions on how to connect the LED back light bar for your laptop model.
Step 8: Test the LED Back Light Bar
Before closing the laptop case, test the LED back light bar to make sure it's working properly. Power on your laptop and check if the LED back light bar is illuminated. If it's not working, double-check the connections and make sure the LED back light bar is properly installed.
Step 9: Reassemble the Laptop Case
Once you've confirmed that the LED back light bar is working properly, carefully reassemble the laptop case. Make sure all the components are properly aligned and the screws are tightened securely.
Step 10: Enjoy Your New LED Back Light Bar
Congratulations! You've successfully installed an LED back light bar in your laptop. Now you can enjoy a brighter, more vivid screen and add a touch of style to your laptop.
Tips and Considerations
- Compatibility: Make sure the LED back light bar you choose is compatible with your laptop model. Check the specifications and requirements of the LED back light bar before making a purchase.
- Safety: Always follow safety precautions when working on your laptop. Power off and disconnect the laptop from the power source before starting the installation process.
- Careful Handling: Handle the LED back light bar and other components with care to avoid damaging them. Use the appropriate tools and techniques for the installation.
- Testing: Test the LED back light bar before closing the laptop case to ensure it's working properly. This will save you time and effort in case there are any issues with the installation.
Conclusion
Installing an LED back light bar in a laptop is a relatively simple process that can significantly enhance your visual experience. By following the steps outlined in this blog and using the right tools and materials, you can easily install an LED back light bar in your laptop. As a leading LED back light bar supplier, we offer a wide range of high-quality LED back light bars to suit your needs and preferences. If you have any questions or need further assistance, please don't hesitate to contact us. We're here to help you with your LED back light bar installation and procurement needs.
References
- Laptop user manual
- LED back light bar user manual
- Online resources for laptop repair and installation
