
How to replace a damaged part of a top view neon flex?
Tue 28,2025
Leave a message
Hey there! I'm a supplier of Top View Neon Flex, and I know how frustrating it can be when a part of your neon flex gets damaged. But don't worry, replacing a damaged part of a top view neon flex isn't as hard as it might seem. In this blog post, I'll walk you through the whole process step by step.
What You'll Need
First things first, let's talk about what you'll need to replace a damaged part of your top view neon flex. Here's a quick list:
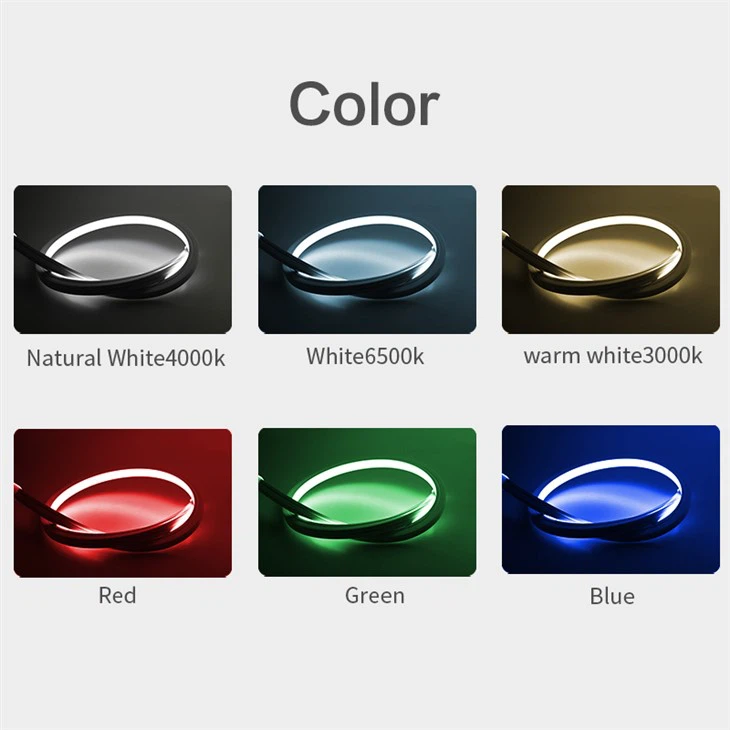
- A replacement piece of Top View Neon Flex 1616 or Top View Neon Flex 1313 depending on your original product. Make sure it's the same length and color as the damaged part.
- A pair of sharp scissors or a utility knife for cutting the neon flex.
- Electrical tape to secure the connections.
- A soldering iron and solder (optional but recommended for a more secure connection).
Step 1: Identify the Damaged Part
The first step is to figure out exactly where the damage is. Look closely at your top view neon flex and find the section that's not working properly. It could be a section that's not lighting up, or there might be visible damage like a cut or a break in the flex. Once you've found the damaged part, mark it with a piece of tape or a pen so you know exactly where to cut.
Step 2: Cut Out the Damaged Part
Now it's time to cut out the damaged section. Use your scissors or utility knife to carefully cut the neon flex on both sides of the damaged part. Make sure you cut straight across and as cleanly as possible. Try to leave a little extra length on each side of the cut so you have enough room to make the connection with the replacement piece.

Step 3: Prepare the Replacement Piece
Take your replacement piece of top view neon flex and cut it to the same length as the section you just removed. Make sure the ends are clean and straight. If you're using a soldering iron, you can tin the ends of the replacement piece and the remaining neon flex. Tinning means applying a thin layer of solder to the exposed wires to make the connection easier.
Step 4: Connect the Wires
There are two ways to connect the wires: using electrical tape or soldering.
Using Electrical Tape
If you're not comfortable using a soldering iron, you can use electrical tape to connect the wires. First, match up the positive and negative wires of the replacement piece with the corresponding wires of the remaining neon flex. The positive wire is usually marked with a stripe or a plus sign. Once you've matched them up, twist the wires together tightly. Then, wrap the connection with several layers of electrical tape to secure it. Make sure the tape covers the exposed wires completely to prevent any short circuits.
Soldering the Wires
If you have some soldering skills, soldering the wires is a better option. It creates a more secure and long - lasting connection. Heat up your soldering iron and apply a small amount of solder to the twisted wires. Hold the soldering iron against the wires for a few seconds until the solder melts and flows evenly around the wires. Let the solder cool and harden before moving on.
Step 5: Inspect the Connection
After you've made the connection, take a close look at it. Make sure the wires are securely connected and there are no loose strands. If you used electrical tape, check that it's tightly wrapped around the connection. If you soldered the wires, make sure the solder joint is smooth and there are no cold solder joints (which look grainy or have a rough texture).
Step 6: Test the Connection
Before you finish up, it's important to test the connection to make sure everything is working properly. Plug in your top view neon flex and see if the new section lights up. If it does, great! You've successfully replaced the damaged part. If not, double - check your connections and make sure the wires are properly matched and secured.
Step 7: Secure the Connection
Once you've confirmed that the connection is working, you can further secure it. If you used electrical tape, you can wrap an extra layer of tape around the connection for added protection. If you soldered the wires, you can use a small piece of heat - shrink tubing to cover the solder joint and provide insulation.
Tips and Tricks
- When cutting the neon flex, be careful not to damage the internal wires. If you accidentally cut a wire, you'll have to start over or make a more complicated repair.
- If you're having trouble telling the positive and negative wires apart, you can refer to the product manual or contact the manufacturer for help.
- It's a good idea to keep a few spare pieces of top view neon flex on hand in case you have future problems.
Why Choose Our Top View Neon Flex?
As a supplier of top view neon flex, I can tell you that our products are of the highest quality. Our Top View Neon Flex 1616 and Top View Neon Flex 1313 are designed to be durable and long - lasting. They're made with high - quality LEDs that provide bright and even lighting. And if you ever run into any issues, replacing a damaged part is as easy as following the steps I've outlined in this post.
We also offer Flexible Led Neon Rope Light which is another great option for your lighting needs. It's flexible, easy to install, and comes in a variety of colors.
Conclusion
Replacing a damaged part of a top view neon flex might seem like a daunting task at first, but with the right tools and a little bit of know - how, it's definitely doable. By following these steps, you can save money on a new neon flex and get your lighting back up and running in no time.
If you're interested in purchasing top view neon flex or have any questions about our products, feel free to reach out. We're always here to help you with your lighting needs and can assist you with any further replacement or installation processes.
References
- General knowledge from years of experience in the top view neon flex industry.
- Product manuals of Top View Neon Flex 1616 and Top View Neon Flex 1313.
