
How to program a top view neon flex for different lighting effects?
Thu 22,2025
Leave a message
Programming a top view neon flex for different lighting effects can transform a mundane space into a vibrant, dynamic environment. As a supplier of high - quality top view neon flex products, including the Top View Neon Flex 1010, Flexible Led Neon Rope Light, and Top View Neon Flex 1313, I am excited to share with you the ins and outs of programming these amazing lighting solutions.
Understanding the Basics of Top View Neon Flex
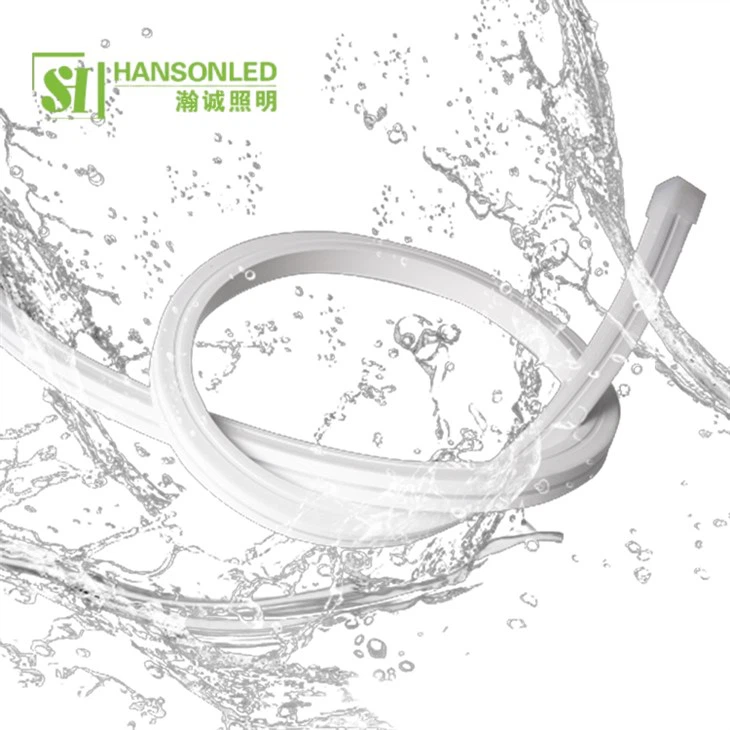
Before diving into programming, it's essential to understand what top view neon flex is. Top view neon flex is a type of LED lighting strip that emits light from the top surface. It consists of multiple LED chips embedded in a flexible, silicone casing. These strips are highly versatile, energy - efficient, and can be bent into various shapes, making them ideal for a wide range of applications, from architectural lighting to decorative displays.
Selecting the Right Programming Method
There are several ways to program top view neon flex for different lighting effects. The choice of method depends on the complexity of the desired effects, the scale of the installation, and the available resources.
1. Using a Remote Control
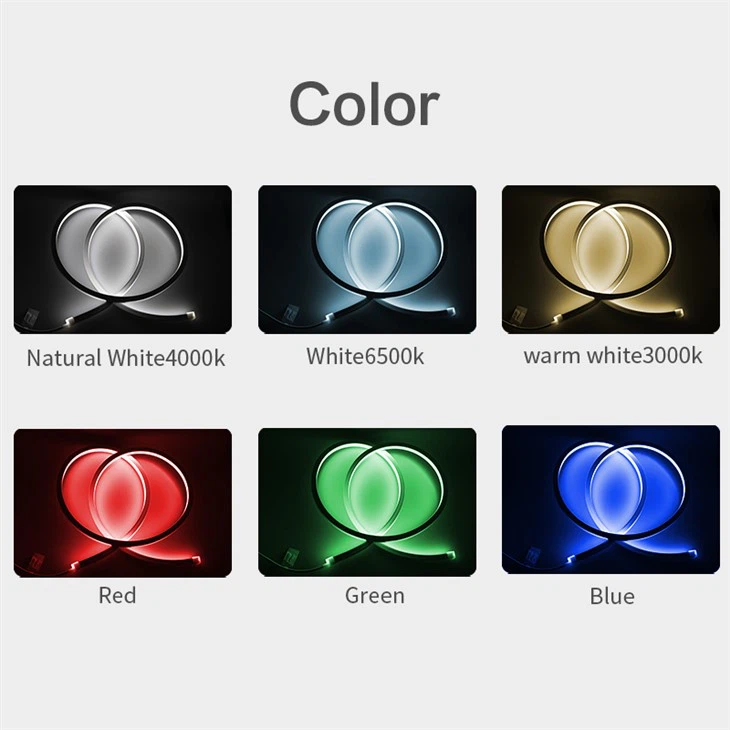
One of the simplest ways to program top view neon flex is by using a remote control. Most of our top view neon flex products come with a basic remote that allows you to adjust the brightness, color, and some pre - set lighting effects. For example, you can switch between solid colors, fade effects, strobe effects, and chasing patterns with just a few clicks of a button. This method is great for small - scale installations, such as home decor or small retail displays, where you don't need highly customized effects.
2. DMX Control
For more professional and complex lighting installations, DMX (Digital Multiplex) control is the way to go. DMX is a standard protocol used in the lighting industry to control multiple lighting fixtures simultaneously. With a DMX controller, you can create custom lighting scenes, adjust the intensity and color of individual segments of the top view neon flex, and synchronize the lighting with music or other media. This method is commonly used in large - scale events, stage productions, and commercial buildings.
3. Microcontroller - Based Programming
If you have some programming skills and want to create truly unique lighting effects, you can use a microcontroller, such as an Arduino or Raspberry Pi, to program the top view neon flex. Microcontrollers allow you to write custom code to control the LEDs in the neon flex. You can create complex patterns, animations, and interactive effects based on sensors or user input. For example, you can make the neon flex change color based on the ambient light level or the movement of a person in the room.
Step - by - Step Guide to Programming with a Remote Control
If you choose to use a remote control to program your top view neon flex, here is a step - by - step guide:
- Installation: First, install the top view neon flex in the desired location. Make sure it is properly connected to the power supply and the remote control receiver.
- Power On: Turn on the power to the neon flex. You should see the LEDs light up in a default setting.
- Pairing the Remote: If the remote is not already paired with the neon flex, follow the instructions in the user manual to pair them. This usually involves pressing a specific button on the remote and the receiver.
- Adjusting Brightness: Use the brightness buttons on the remote to increase or decrease the brightness of the neon flex. You can find the perfect level of illumination for your space.
- Changing Colors: Most remotes have a color - changing function. Press the color button to cycle through different colors, or use the color wheel on the remote to select a specific color.
- Selecting Lighting Effects: Explore the pre - set lighting effects on the remote. These may include fade, strobe, flash, and chasing patterns. Press the effect button to switch between different effects and find the one that suits your needs.
Programming with DMX Control
Here's how you can program top view neon flex using DMX control:
- System Setup: Connect the top view neon flex to a DMX decoder. The decoder converts the DMX signal into a format that the neon flex can understand. Then, connect the DMX decoder to a DMX controller using a DMX cable.
- Addressing: Each DMX - controlled device needs to be assigned a unique DMX address. Use the addressing function on the DMX decoder to set the address for your top view neon flex. This allows the DMX controller to communicate with the specific device.
- Creating Scenes: Open the DMX control software on your computer or use the built - in controls on the DMX controller. Create different lighting scenes by adjusting the intensity, color, and other parameters of the neon flex. You can save these scenes for future use.
- Running the Show: Once you have created your scenes, you can run them manually or set up an automated sequence. The DMX controller will send the appropriate signals to the neon flex to achieve the desired lighting effects.
Microcontroller - Based Programming
If you're up for the challenge of microcontroller - based programming, here's a general overview:
- Hardware Setup: Connect the top view neon flex to the microcontroller. You may need to use a level shifter or a driver circuit to ensure proper communication between the microcontroller and the LEDs.
- Software Installation: Install the appropriate programming environment for your microcontroller. For example, if you're using an Arduino, you'll need to install the Arduino IDE.
- Writing Code: Write a program in the programming language supported by your microcontroller. You can use libraries that are specifically designed for controlling LED strips to simplify the coding process. For example, the FastLED library is a popular choice for controlling RGB LEDs.
- Uploading the Code: Connect the microcontroller to your computer and upload the code to it. Once the code is uploaded, the microcontroller will start controlling the top view neon flex according to your program.
Troubleshooting Common Programming Issues
Even with the best - laid plans, you may encounter some issues when programming top view neon flex. Here are some common problems and their solutions:
- No Response from the Remote: Check if the batteries in the remote are dead. Replace them if necessary. Also, make sure the remote is properly paired with the neon flex.
- DMX Communication Problems: Check the DMX cables for loose connections or damage. Make sure the DMX addresses are set correctly and that the DMX controller and decoder are compatible.
- Microcontroller Not Working: Check the wiring between the microcontroller and the neon flex. Make sure the code is error - free and that the microcontroller is properly powered.
Conclusion
Programming top view neon flex for different lighting effects is a creative and rewarding process. Whether you're a DIY enthusiast looking to add some flair to your home or a professional lighting designer working on a large - scale project, there are various programming methods available to suit your needs. As a supplier of top view neon flex products, we are committed to providing you with high - quality products and the support you need to achieve amazing lighting effects.
If you're interested in purchasing our top view neon flex products or have any questions about programming, please feel free to reach out. We're here to assist you in bringing your lighting ideas to life.
References
- LED Lighting Handbook: A Comprehensive Guide to LED Technology and Applications
- DMX512 Protocol Documentation
- Arduino Programming Guide
