
How to install the 2835 LED Strip 120 LED on a metal surface?
Thu 22,2025
Leave a message
Hey there! As a supplier of the 2835 LED Strip 120 LED, I'm stoked to share with you how to install this awesome lighting product on a metal surface. It's gonna add a cool, modern touch to any space, whether it's a home, a commercial place, or even a DIY project.
What You'll Need
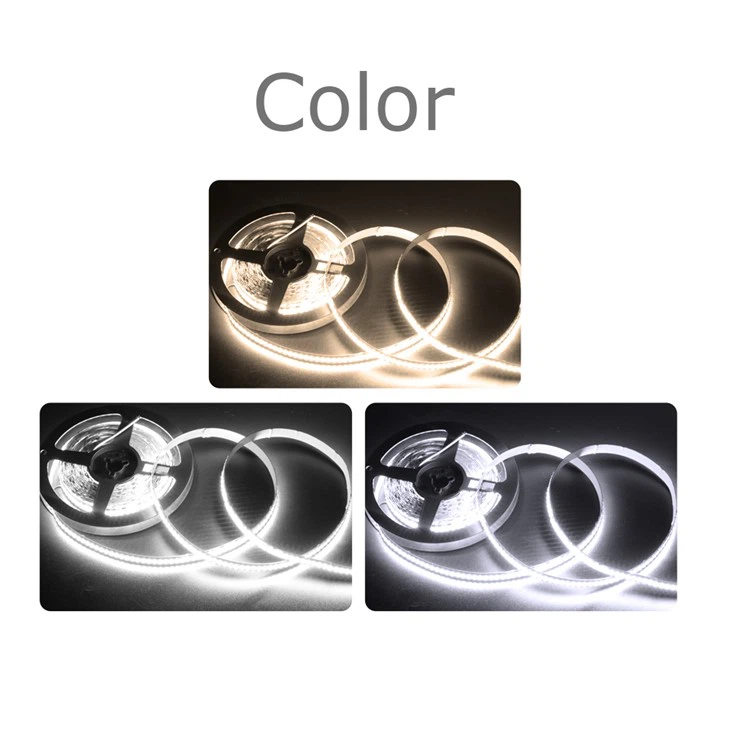
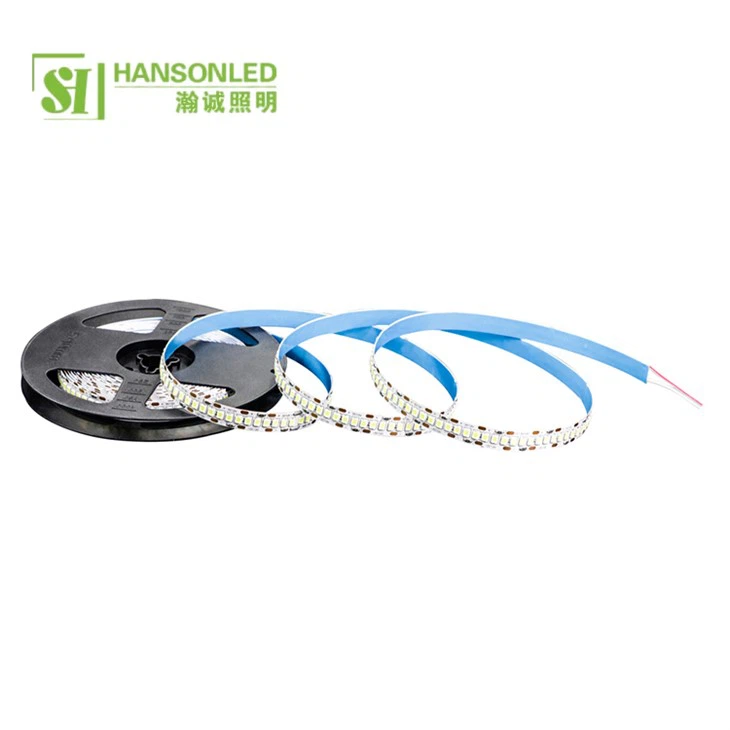
Before we jump into the installation process, let's go over the tools and materials you'll need. First off, of course, you'll need the 2835 LED Strip 120 LED. We've got some top - notch quality ones that are super bright and energy - efficient. You can also check out our Dual White 2835 LED Strip if you're looking for something with a different lighting effect.
Apart from the LED strip, you'll need a power supply. Make sure it's compatible with the voltage requirements of the LED strip. Usually, our 2835 LED Strip 120 LED runs on 12V or 24V, so pick the right one. You'll also need some soldering equipment if you plan to make custom connections. A roll of double - sided tape is essential for attaching the strip to the metal surface, and some wire cutters to trim the strip to the right length. Oh, and don't forget some heat shrink tubing to protect the connections.
Preparing the Metal Surface
The first step in the installation is to prepare the metal surface. You wanna make sure it's clean and free of any dirt, grease, or rust. A simple way to do this is to use a degreaser or rubbing alcohol. Just grab a clean cloth, soak it in the degreaser, and wipe down the area where you'll be installing the LED strip. This will help the double - sided tape stick better.
If the metal surface is rough or uneven, you might want to sand it down a bit to create a smooth surface. This will ensure that the LED strip lies flat and looks nice. After sanding, wipe away any dust with a clean cloth.
Measuring and Cutting the LED Strip
Now it's time to measure the length of the area where you're gonna install the LED strip. Use a measuring tape to get an accurate measurement. Our 2835 LED Strip 120 LED can be cut at every three LEDs, so keep that in mind when you're measuring.
Once you've got the measurement, use the wire cutters to cut the LED strip at the appropriate cutting marks. Make sure you cut straight and cleanly. If you need a longer strip, you can always connect multiple pieces together later. And if you're thinking about a more intense lighting setup, you might also want to check out our 2835 LED Strip 240 LED.
Attaching the LED Strip to the Metal Surface
Take the double - sided tape and peel off one side of the backing. Carefully align the tape with the edge of the LED strip, starting from one end. Press the tape firmly onto the back of the LED strip, making sure it covers the entire length. Then, peel off the other side of the backing from the tape.
Now, it's time to attach the LED strip to the metal surface. Start at one end and slowly press the LED strip onto the metal, smoothing out any air bubbles as you go. Make sure the strip is straight and firmly attached. If you're working on a curved metal surface, you can gently bend the LED strip to fit the curve.
Making Electrical Connections
After attaching the LED strip to the metal surface, it's time to make the electrical connections. First, connect the power supply to the LED strip. You'll usually find positive (+) and negative (-) markings on both the power supply and the LED strip. Make sure you connect them correctly. If you're not sure, it's a good idea to consult the product manual.
If you're connecting multiple LED strips together, you'll need to solder the connections. Use the soldering iron to heat up the solder and connect the wires. After soldering, cover the connections with heat shrink tubing and use a heat gun to shrink it. This will protect the connections from short - circuits and moisture.
Testing the LED Strip
Once you've made all the connections, it's time to test the LED strip. Plug in the power supply and see if the LEDs light up. If they don't, double - check your connections. Make sure the power supply is working and that the connections are secure. If there are any issues, you might need to troubleshoot and fix them before proceeding.
Finishing Touches
After the LED strip is working properly, you can add some finishing touches. You can use cable clips to secure the wires and make the installation look neater. You can also add a diffuser if you want a softer, more even light. Our 5mm LED Strip Light comes with a diffuser option that you might find useful.
Why Choose Our 2835 LED Strip 120 LED
Our 2835 LED Strip 120 LED is a great choice for many reasons. It has a high brightness level, which means it can effectively illuminate any space. It's also energy - efficient, so you'll save on your electricity bills in the long run. The strip is durable and has a long lifespan, so you won't have to replace it often.
Contact Us for Procurement
If you're interested in purchasing our 2835 LED Strip 120 LED or any of our other LED products, we'd love to hear from you. Whether you're a DIY enthusiast, a contractor, or a business owner, we can provide you with the best lighting solutions for your needs. Just reach out to us, and we'll be happy to discuss your requirements and offer you a great deal.
References
- General knowledge about LED strip installation from industry experience
- Product manuals of 2835 LED Strip 120 LED, Dual White 2835 LED Strip, 2835 LED Strip 240 LED, and 5mm LED Strip Light
