
How to connect multiple Ultra - Long LED Strips together?
Fri 04,2025
Leave a message
When it comes to illuminating large spaces or creating eye-catching lighting displays, ultra-long LED strips are an excellent choice. As a supplier of high-quality ultra-long LED strips, I often receive inquiries about how to connect multiple strips together effectively. In this blog post, I'll share some comprehensive guidelines and best practices to help you achieve seamless connections for your lighting projects.
Understanding Ultra-Long LED Strips
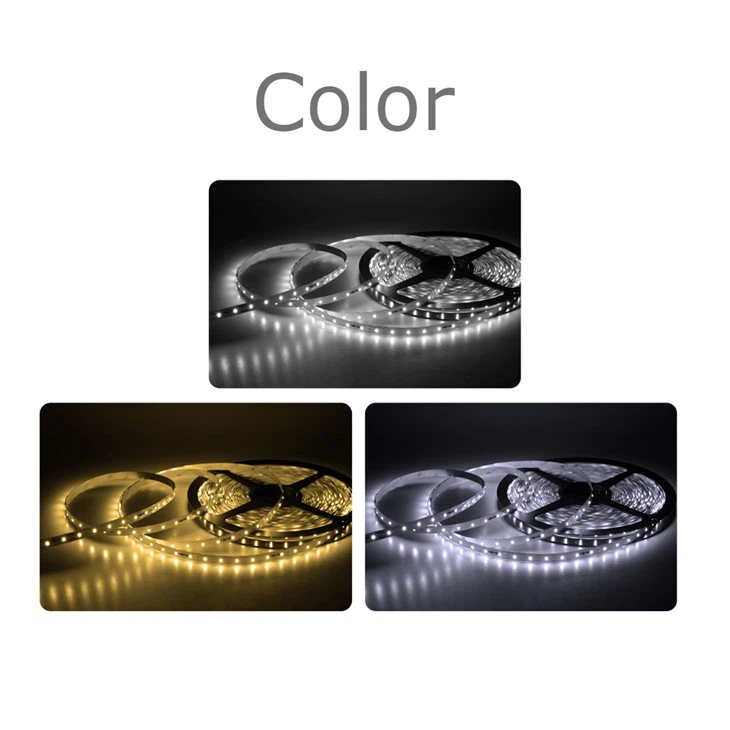
Before diving into the connection process, it's essential to understand the characteristics of ultra-long LED strips. These strips are designed to provide continuous lighting over extended distances, making them ideal for commercial installations, architectural lighting, and large-scale decorative projects. They come in various configurations, including different lengths, LED densities, and color temperatures, allowing you to customize the lighting effect according to your specific needs.
Our Long LED Light Strips 120 LED and Long LED Light Strips 60 LED are two popular options that offer high brightness and energy efficiency. The 120 LED version provides a more intense and uniform light output, while the 60 LED version is suitable for applications where a softer glow is desired.
Tools and Materials You'll Need
To connect multiple ultra-long LED strips together, you'll need the following tools and materials:
- LED Strips: Select the appropriate length and LED density based on your project requirements.
- Power Supply: Choose a power supply with sufficient wattage to support the total length of the connected LED strips. Make sure the voltage of the power supply matches the voltage rating of the LED strips.
- Connectors: Use high-quality connectors specifically designed for LED strips. These connectors ensure a secure and reliable electrical connection between the strips.
- Soldering Iron and Solder (Optional): Soldering can provide a more permanent and robust connection, especially for high-power applications. However, it requires some skill and experience.
- Wire Cutters and Strippers: These tools are necessary for cutting and preparing the wires for connection.
- Electrical Tape or Heat Shrink Tubing: Use electrical tape or heat shrink tubing to insulate the connections and prevent short circuits.
Step-by-Step Connection Process
Now that you have all the necessary tools and materials, let's walk through the step-by-step process of connecting multiple ultra-long LED strips together:
Step 1: Plan Your Layout
Before making any connections, carefully plan the layout of your LED strips. Determine the desired length, shape, and placement of the strips to ensure they cover the intended area evenly. Consider factors such as the power supply location, the direction of the light, and any obstacles or obstructions that may affect the installation.
Step 2: Prepare the LED Strips
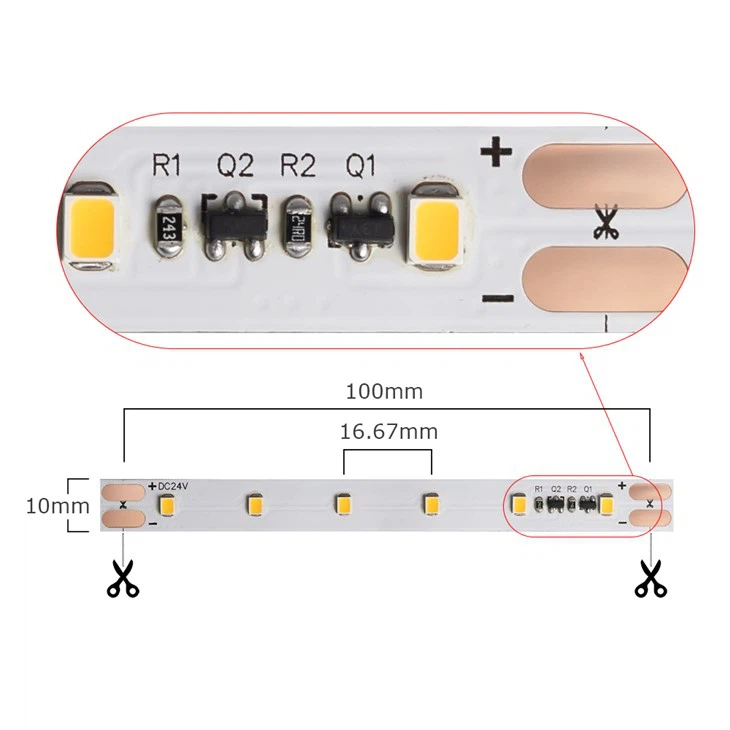
Cut the LED strips to the desired length using wire cutters. Make sure to cut along the designated cutting marks on the strips to avoid damaging the LEDs or the circuit board. Strip the insulation from the ends of the wires using wire strippers, exposing about 1/4 inch of bare wire.
Step 3: Connect the LED Strips
There are two main methods for connecting LED strips: using connectors or soldering.
Using Connectors:
- Insert the stripped ends of the LED strips into the corresponding slots on the connectors. Make sure the positive (+) and negative (-) terminals are aligned correctly.
- Press the connectors firmly to secure the connection. Some connectors may require a small amount of force to ensure a tight fit.
- Repeat this process for each connection point until all the LED strips are connected together.
Soldering:
- If you prefer a more permanent and robust connection, you can solder the wires together.
- Heat the soldering iron and apply a small amount of solder to the tip.
- Hold the stripped ends of the wires together and touch the soldering iron to the joint. The solder will melt and flow into the joint, creating a strong electrical connection.
- Allow the solder to cool and solidify before moving on to the next connection.
Step 4: Connect the Power Supply
Once all the LED strips are connected together, it's time to connect the power supply.
- Identify the positive (+) and negative (-) terminals on the power supply and the LED strips.
- Connect the positive wire from the power supply to the positive terminal of the first LED strip, and the negative wire from the power supply to the negative terminal of the last LED strip.
- Use electrical tape or heat shrink tubing to insulate the connections and prevent short circuits.
Step 5: Test the Connection
Before finalizing the installation, it's important to test the connection to ensure everything is working properly.
- Plug in the power supply and turn on the LED strips.
- Check for any signs of flickering, dimness, or uneven lighting. If you notice any issues, double-check the connections and make sure the power supply is providing the correct voltage.
- If necessary, make any adjustments or repairs to the connections until the LED strips are functioning correctly.
Tips and Best Practices
- Use High-Quality Materials: Invest in high-quality LED strips, connectors, and power supplies to ensure a reliable and long-lasting installation. Cheap or low-quality materials may lead to poor performance, short circuits, or premature failure.
- Follow the Manufacturer's Instructions: Always follow the manufacturer's instructions and guidelines when installing and connecting LED strips. This will help you avoid common mistakes and ensure the safety and performance of the lighting system.
- Plan for Future Expansion: If you anticipate adding more LED strips in the future, leave some extra length on the wires and plan for additional connection points. This will make it easier to expand the lighting system without having to make major modifications.
- Consider the Environment: When installing LED strips in outdoor or wet environments, make sure to use waterproof or weatherproof materials. This will protect the LED strips from damage and ensure their longevity.
- Seek Professional Help if Needed: If you're unsure about any aspect of the installation or connection process, don't hesitate to seek professional help. A qualified electrician or lighting technician can provide valuable advice and assistance to ensure a successful installation.
Conclusion
Connecting multiple ultra-long LED strips together is a relatively straightforward process that can be accomplished with the right tools, materials, and knowledge. By following the steps outlined in this blog post and adhering to the tips and best practices, you can create a seamless and professional-looking lighting installation that meets your specific needs.
If you have any questions or need further assistance with your ultra-long LED strip project, please don't hesitate to contact us. We're here to help you every step of the way and provide you with the highest quality products and services. Whether you're a DIY enthusiast or a professional installer, we have the expertise and resources to support your lighting needs. Let's work together to bring your lighting vision to life!
References
- LED Lighting Handbook, Third Edition, by Mark Rea
- The Complete Guide to LED Lighting, by Robert E. Karlicek Jr.
- LED Lighting Design and Application, by Kai Chen
