
How to install the 2835 LED Strip 120 LED on a ceramic surface?
Tue 26,2025
Leave a message
Installing a 2835 LED Strip 120 LED on a ceramic surface can be a rewarding project that enhances the aesthetic and functionality of your space. As a supplier of high - quality 2835 LED Strip 120 LED products, I'm here to guide you through the entire installation process.
Understanding the 2835 LED Strip 120 LED
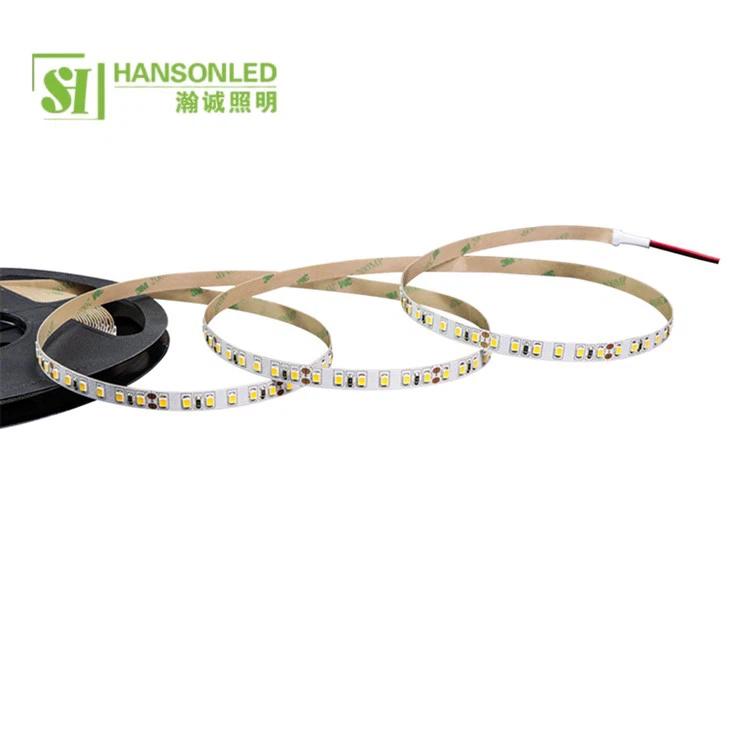
Before we start the installation, it's essential to understand what the 2835 LED Strip 120 LED is. The 2835 refers to the size of the LED chips on the strip, which are 2.8mm x 3.5mm. The "120 LED" indicates that there are 120 individual LEDs per meter of the strip. This high density of LEDs provides a bright and uniform light output, making it suitable for a variety of applications, from under - cabinet lighting in kitchens to accent lighting in living rooms.
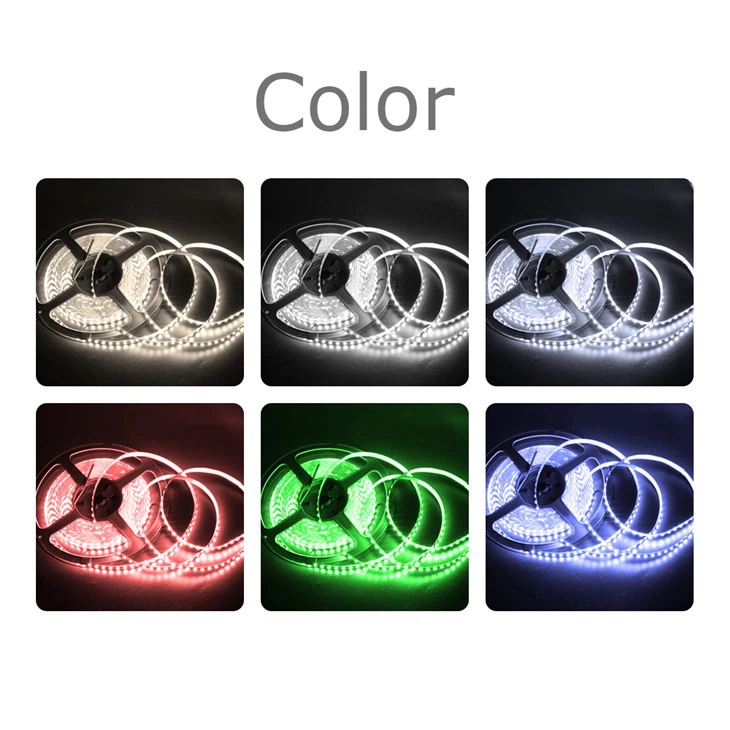
Compared to the 2835 LED Strip 60 LED, the 120 LED version offers twice the number of light sources per meter, resulting in a more intense and even illumination. Our Dual White 2835 LED Strip also provides the flexibility of choosing between warm and cool white light, which can create different atmospheres in your space.
Tools and Materials Needed
- 2835 LED Strip 120 LED: Of course, you'll need the LED strip itself. Make sure to measure the area where you plan to install the strip accurately to determine the required length. You can find our 2835 LED Strip 120 LED on our website.
- Power Supply: Select a power supply that is compatible with the voltage and wattage requirements of the LED strip. Most 2835 LED strips operate at 12V or 24V.
- Soldering Iron and Solder: If you need to make connections or cut the strip, a soldering iron and solder will be necessary.
- Double - Sided Tape or Adhesive: Since we're installing on a ceramic surface, a strong adhesive is required to ensure the strip stays in place. Double - sided tape designed for high - temperature and high - adhesion applications is a good choice.
- Wire Cutters and Strippers: These tools are used to cut the LED strip and strip the insulation from the wires for connections.
- Electrical Tape: To insulate the soldered connections and prevent short - circuits.
Preparing the Ceramic Surface
The first step in the installation process is to prepare the ceramic surface.
- Clean the Surface: Use a mild detergent and a soft cloth to clean the ceramic surface where the LED strip will be installed. Remove any dirt, grease, or debris. Rinse the surface thoroughly and dry it completely. This ensures good adhesion between the strip and the ceramic.
- Mark the Installation Path: Use a measuring tape and a pencil to mark the path where the LED strip will be placed. This helps you ensure that the strip is installed straight and in the desired position.
Cutting the LED Strip
If the length of the LED strip you purchased is longer than the area where you want to install it, you'll need to cut the strip. Most 2835 LED strips have cutting marks at regular intervals (usually every 3 LEDs). Use wire cutters to carefully cut the strip at these marks. Make sure to wear safety goggles to protect your eyes from any flying debris.
Making Electrical Connections
- Connect the Power Supply: Identify the positive (+) and negative (-) terminals on the LED strip and the power supply. Use a soldering iron to solder the wires from the power supply to the corresponding terminals on the LED strip. Apply a small amount of solder to the tip of the soldering iron, then touch it to the wire and the terminal on the strip. Hold it for a few seconds until the solder melts and forms a good connection.
- Insulate the Connections: After soldering, wrap the connections with electrical tape to prevent short - circuits. Make sure the tape covers the exposed metal completely.
Installing the LED Strip on the Ceramic Surface
- Peel the Backing of the Adhesive: If you're using double - sided tape, carefully peel the backing from the tape on the LED strip.
- Align and Press: Align the LED strip with the marked path on the ceramic surface and press it firmly onto the surface. Start from one end and work your way to the other, making sure there are no air bubbles or gaps between the strip and the surface.
- Check the Installation: Once the strip is installed, check to make sure it is straight and firmly attached. You can also test the strip by connecting the power supply to see if it lights up.
Troubleshooting
- LEDs Not Lighting Up: Check the electrical connections to make sure they are secure and properly soldered. Also, verify that the power supply is working correctly and providing the correct voltage.
- Uneven Lighting: If you notice uneven lighting, it could be due to a poor connection or a damaged LED. Check the connections and look for any visibly damaged LEDs on the strip. If a LED is damaged, you may need to replace that section of the strip.
Maintenance
- Regular Cleaning: Use a soft, dry cloth to clean the LED strip periodically. Avoid using abrasive cleaners or solvents, as they can damage the strip.
- Check Connections: Over time, the electrical connections may loosen. Check the connections regularly and re - solder them if necessary.
Conclusion
Installing a 2835 LED Strip 120 LED on a ceramic surface is a relatively straightforward process if you follow the steps outlined above. With the right tools, materials, and a little patience, you can transform your space with beautiful, energy - efficient lighting.
If you're interested in purchasing our 2835 LED Strip 120 LED or have any questions about the installation process, please feel free to contact us. We're here to assist you with all your LED lighting needs and look forward to discussing potential procurement opportunities with you.
References
- LED Lighting Handbook: A comprehensive guide to LED technology and installation.
- Manufacturer's documentation for 2835 LED Strip 120 LED.
