
How to program a Pixel LED Strip?
Fri 05,2025
Leave a message
Hey there, fellow tech enthusiasts! If you're as into lighting as I am, you've probably come across Pixel LED Strips. I'm a supplier of these awesome strips, and today I'm gonna share with you how to program a Pixel LED Strip.
What are Pixel LED Strips?
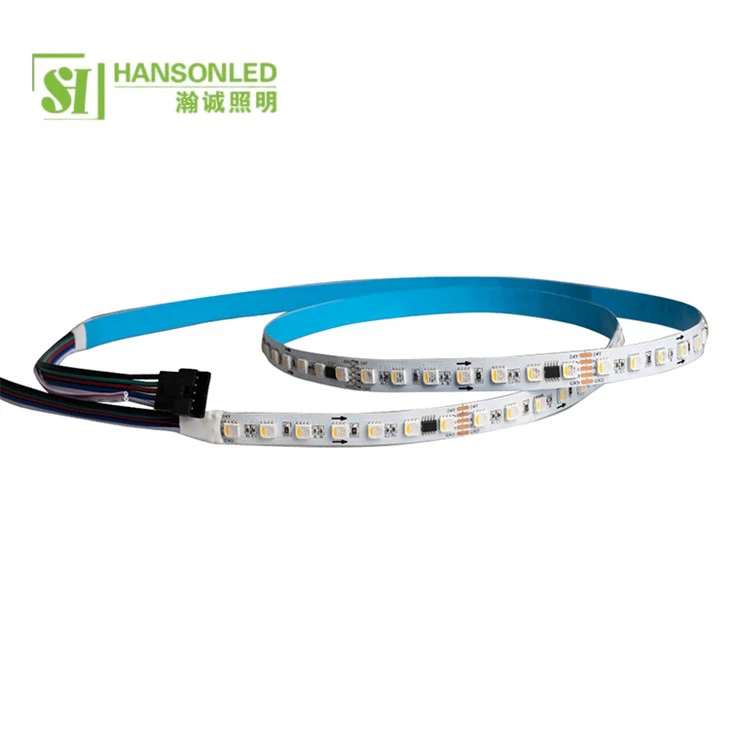
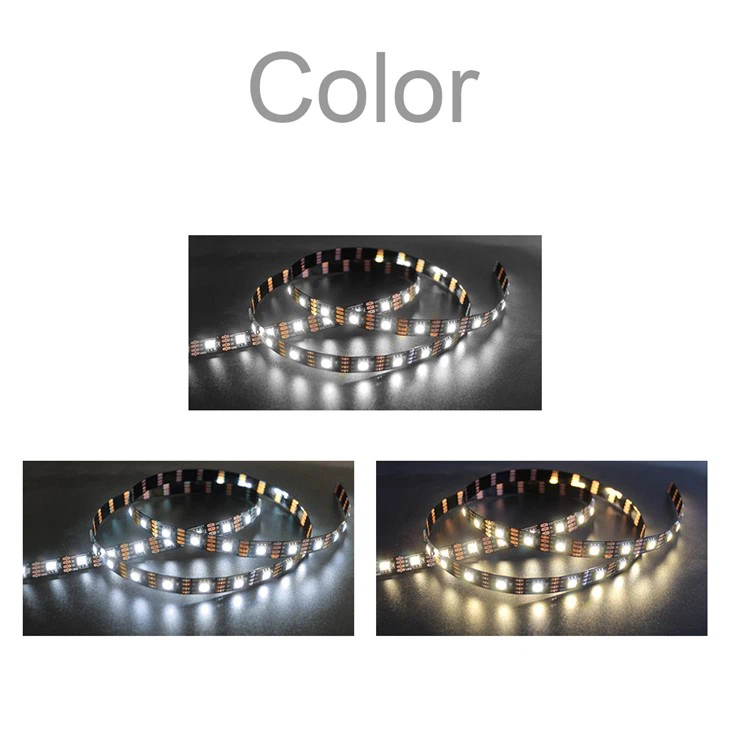
First things first, let's talk a bit about what Pixel LED Strips are. These strips are made up of individual LED pixels that can be controlled independently. That means you can create all sorts of cool lighting effects, like chasing lights, color fades, and patterns. They're super popular for decorating homes, parties, and even for some high - tech projects.
We offer a variety of Pixel LED Strips on our website. For example, the Smart RGB LED Strip is a great choice if you want a strip that's easy to control and can display a wide range of colors. The 1Led Cut Led Strip is perfect for those who need to customize the length of the strip, as you can cut it every single LED. And the SPI RGB Strip 60leds Per Meter Addressable RGB Led Strip is a high - density option that gives you a really smooth lighting effect.
Getting the Right Tools
Before you start programming, you'll need to gather a few tools. Here's what you'll typically need:
- Microcontroller: This is the brain of your project. Popular choices include Arduino boards, Raspberry Pi, and ESP8266. They're easy to work with and have a ton of resources online.
- Pixel LED Strip: Obviously, you'll need the strip itself. Make sure to choose the right type and length for your project.
- Power Supply: Pixel LED Strips can draw a fair amount of power, especially when you're running lots of LEDs at full brightness. Get a power supply that can handle the load.
- Wiring: You'll need some wires to connect the microcontroller to the LED strip and the power supply.
Connecting the Hardware
Once you have all the tools, it's time to connect the hardware. Here's a general guide on how to do it:
- Power Connection: Connect the positive wire of the power supply to the positive terminal of the LED strip. Do the same for the negative wire. Make sure the power supply is rated for the correct voltage of the LED strip.
- Data Connection: Connect the data line from the microcontroller to the data input of the LED strip. The pin you use on the microcontroller will depend on the programming language and library you're using.
- Ground Connection: Connect the ground wire from the microcontroller to the ground of the LED strip and the power supply. This creates a common ground for the whole system.
Programming the Pixel LED Strip
Now comes the fun part - programming! There are a few different ways to program Pixel LED Strips, but one of the most popular is using the FastLED library. Here's a step - by - step guide on how to use it with an Arduino:
Step 1: Install the FastLED Library
- Open the Arduino IDE.
- Go to
Sketch>Include Library>Manage Libraries. - In the Library Manager, search for
FastLED. - Select the latest version and click
Install.
Step 2: Write the Code
Here's a simple example code that will make the LED strip display a rainbow effect:
#include#define LED_PIN     6
#define NUM_LEDS    30
CRGB leds[NUM_LEDS];

void setup() {
  FastLED.addLeds(leds, NUM_LEDS);
}

void loop() {
  for(int j = 0; j < 256; j++) {
    for(int i = 0; i < NUM_LEDS; i++) {
      leds[i] = CHSV((i * 256 / NUM_LEDS + j) % 256, 255, 255);
    }
    FastLED.show();
    delay(10);
  }
}
Let's break down what this code does:
#include: This includes the FastLED library in our code.#define LED_PIN 6and#define NUM_LEDS 30: These define the pin on the Arduino that's connected to the LED strip and the number of LEDs on the strip.CRGB leds[NUM_LEDS];: This creates an array to store the color values for each LED.FastLED.addLeds: This initializes the LED strip.WS2812is the type of LED strip,LED_PINis the pin we're using, andGRBspecifies the color order.- In the
loop()function, we use a nestedforloop to create a rainbow effect. The outer loop changes the hue value, and the inner loop sets the color for each LED based on its position on the strip.
Step 3: Upload the Code
- Connect your Arduino to your computer using a USB cable.
- Select the correct board and port in the Arduino IDE.
- Click the upload button (
→). The code will be uploaded to the Arduino, and your LED strip should start showing the rainbow effect.
Advanced Programming
Once you've got the basics down, you can start getting more creative with your programming. Here are some ideas:
- Create Custom Patterns: You can create your own patterns, like a pulsing effect or a random color display. You just need to play around with the color values and the timing in your code.
- Control with a Smartphone: You can use Bluetooth or Wi - Fi modules to control the LED strip from your smartphone. There are plenty of apps available that make this really easy.
- Sync with Music: You can use a microphone module to detect the sound and sync the LED strip's colors with the music. This creates a really cool visual effect.
Troubleshooting
If you run into problems while programming or using the LED strip, here are some common issues and how to fix them:
- No Lights: Check your connections. Make sure the power supply is working, and all the wires are properly connected. Also, check the code to make sure it's uploaded correctly.
- Wrong Colors: This could be due to the wrong color order. Try changing the color order in your code (e.g., from
GRBtoRGB). - Flickering Lights: This could be a power issue. Make sure your power supply can handle the load, and the wiring is not too long or thin.
Conclusion
Programming a Pixel LED Strip is a really fun and rewarding project. Whether you're a beginner or an experienced programmer, there's always something new to learn. And if you're looking for high - quality Pixel LED Strips, we've got you covered.
If you're interested in purchasing our Pixel LED Strips or have any questions about programming, feel free to reach out. We're here to help you bring your lighting projects to life!
References
- FastLED Documentation
- Arduino Official Website
- Online tutorials and forums related to LED strip programming
