
How to connect a COB LED strip?
Tue 23,2025
Leave a message
As a reliable COB LED strip supplier, I understand that many customers may encounter difficulties when it comes to connecting COB LED strips. In this blog post, I'll provide a comprehensive guide on how to connect a COB LED strip, ensuring that you can achieve a seamless and efficient installation.
Understanding COB LED Strips
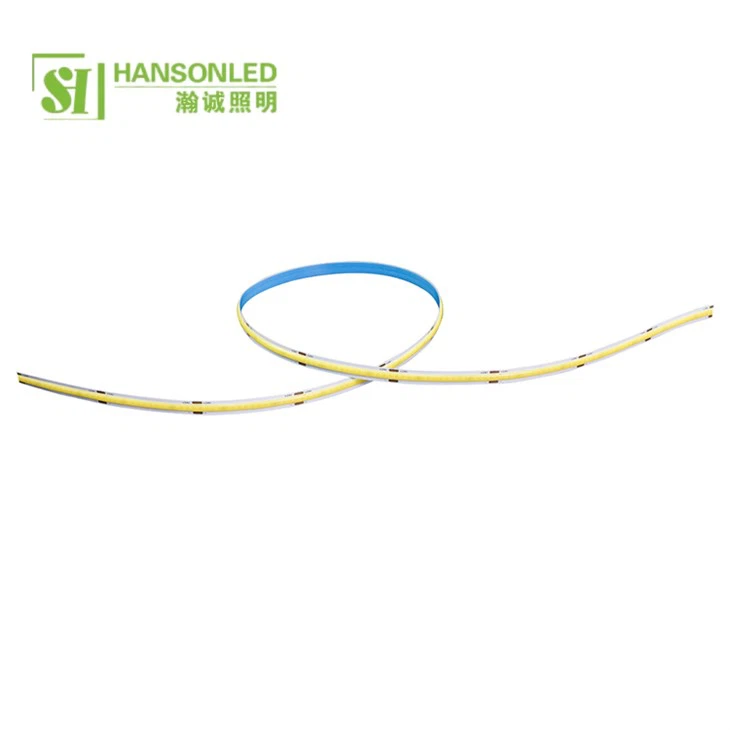
Before we delve into the connection process, it's essential to have a basic understanding of COB LED strips. COB, or Chip-on-Board, technology involves mounting multiple LED chips directly onto a circuit board, resulting in a high-density and uniform light source. COB LED strips offer several advantages, including high brightness, low heat generation, and excellent color rendering.
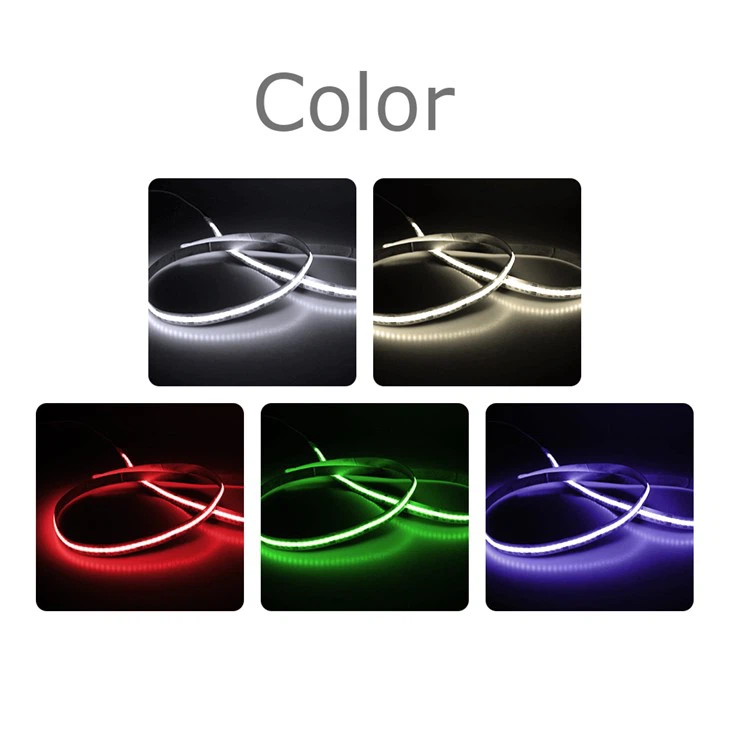
There are different types of COB LED strips available in the market, such as COB LED Tape, RGB COB LED Strip, and RGBW COB LED Strip. Each type has its unique features and applications, so it's crucial to choose the right one for your project.
Tools and Materials Needed
To connect a COB LED strip, you'll need the following tools and materials:
- COB LED strip
- Power supply
- Soldering iron and solder
- Wire cutters and strippers
- Electrical tape
- Heat shrink tubing (optional)
- Mounting clips or adhesive tape
Step-by-Step Guide to Connecting a COB LED Strip
Step 1: Prepare the Work Area
Before you start the installation, make sure you have a clean and well-lit work area. Lay out all the tools and materials you'll need, and ensure that the power supply is turned off.
Step 2: Measure and Cut the LED Strip
Measure the length of the area where you want to install the COB LED strip and cut the strip to the appropriate length. Most COB LED strips have cutting marks at regular intervals, so make sure to cut along these marks to avoid damaging the LEDs.
Step 3: Connect the Power Supply
The power supply is an essential component of the COB LED strip system, as it provides the necessary electrical energy to power the LEDs. To connect the power supply, follow these steps:
- Identify the positive (+) and negative (-) terminals on the power supply. These are usually marked with a plus and minus sign.
- Strip the ends of the wires on the power supply and the COB LED strip using wire cutters and strippers.
- Solder the positive wire from the power supply to the positive terminal on the COB LED strip, and the negative wire from the power supply to the negative terminal on the strip. Make sure to use a good quality solder and apply enough heat to ensure a strong connection.
- Once the soldering is complete, cover the connections with electrical tape or heat shrink tubing to protect them from short circuits and moisture.
Step 4: Mount the LED Strip
After connecting the power supply, it's time to mount the COB LED strip in the desired location. You can use mounting clips or adhesive tape to secure the strip to the surface. Make sure the strip is straight and evenly spaced, and that there are no kinks or bends in the strip.
Step 5: Test the LED Strip
Before you fully secure the COB LED strip, it's important to test it to make sure it's working properly. Turn on the power supply and check if the LEDs light up. If any of the LEDs are not working, check the connections and make sure they are secure.
Step 6: Secure the Connections
Once you've tested the LED strip and confirmed that it's working properly, you can secure the connections using electrical tape or heat shrink tubing. This will help to prevent the connections from coming loose and ensure the long-term reliability of the system.
Tips and Tricks
- When soldering the connections, make sure to use a low-wattage soldering iron to avoid overheating the LEDs.
- If you're using heat shrink tubing, make sure to choose the right size for the wires. The tubing should fit snugly around the wires to provide a good seal.
- To avoid short circuits, make sure to keep the wires away from each other and any metal surfaces.
- If you're installing the COB LED strip in a wet or damp environment, make sure to use waterproof connectors and sealants to protect the LEDs from moisture.
Troubleshooting
If you encounter any problems during the installation process, here are some common issues and solutions:
- LEDs not lighting up: Check the connections to make sure they are secure and that the power supply is providing the correct voltage.
- Flickering LEDs: This could be caused by a loose connection, a faulty power supply, or a problem with the LEDs themselves. Check the connections and the power supply, and replace any faulty components if necessary.
- Overheating LEDs: Overheating can be caused by a power supply that is too powerful or by poor ventilation. Make sure to choose a power supply that is compatible with the COB LED strip, and provide adequate ventilation to prevent overheating.
Conclusion
Connecting a COB LED strip may seem like a daunting task, but with the right tools and knowledge, it can be a straightforward process. By following the steps outlined in this guide, you can ensure a successful installation and enjoy the benefits of high-quality COB LED lighting.
If you have any questions or need further assistance with your COB LED strip project, please don't hesitate to contact us. As a leading COB LED strip supplier, we have the expertise and experience to help you choose the right products and provide you with the support you need. We look forward to working with you on your next project!
References
- "LED Lighting Handbook" by John Bennetts
- "COB LED Technology: Principles and Applications" by Dr. Michael Smith
- Manufacturer's documentation for COB LED strips and power supplies
