
What tools are needed to install a Pixel LED Strip?
Tue 04,2025
Leave a message
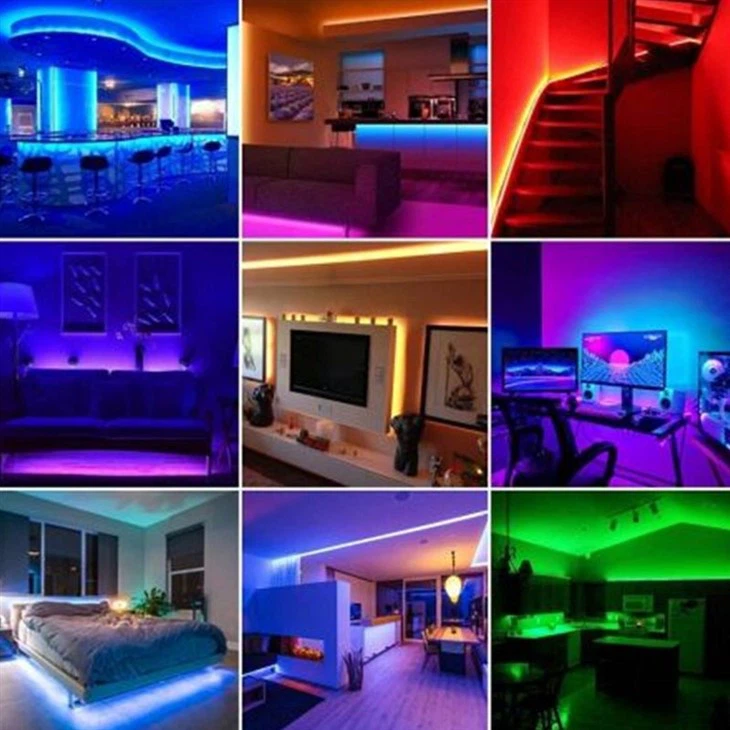
When it comes to enhancing the ambiance of your living space, adding a touch of creativity to your projects, or illuminating commercial venues, Pixel LED Strips are an excellent choice. As a Pixel LED Strip supplier, I've witnessed firsthand the transformative power of these lighting solutions. In this blog, I'll guide you through the essential tools needed to install a Pixel LED Strip, ensuring a smooth and successful installation process.
1. Measuring Tape
Before you start any installation, accurate measurement is crucial. A measuring tape allows you to determine the length of the area where you plan to install the Pixel LED Strip. This step is essential as it helps you calculate the amount of LED strip you need to purchase. Whether you're installing the strip along a wall, under cabinets, or around a staircase, a measuring tape ensures that you get the right quantity, minimizing waste and unnecessary costs.
2. Scissors or Utility Knife
Pixel LED Strips come in continuous lengths, but you'll likely need to cut them to fit your specific installation area. A sharp pair of scissors or a utility knife is essential for this task. Most Pixel LED Strips have pre - marked cutting points, which makes it easy to cut them to the desired length. When using scissors or a utility knife, make sure to cut precisely at the marked points to avoid damaging the LEDs or the circuitry.
3. Power Supply
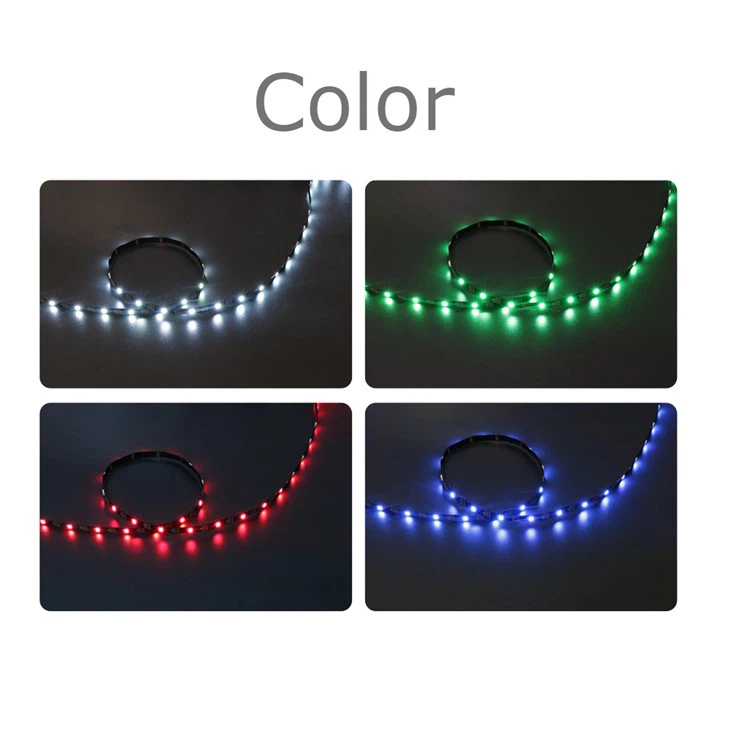
A suitable power supply is the heart of your Pixel LED Strip installation. The power requirements of Pixel LED Strips vary depending on their type and length. For example, IC 5V LED Strip typically requires a 5 - volt power supply, while other types may need 12 volts or 24 volts. It's important to choose a power supply with sufficient wattage to handle the load of your LED strip. An underpowered power supply can cause the LEDs to dim or not work at all, while an overpowered one can damage the strip.
4. Soldering Iron and Solder
In some cases, especially when making custom connections or extending the length of the Pixel LED Strip, soldering may be necessary. A soldering iron and solder are used to create secure electrical connections between the LED strip and other components, such as the power supply or a controller. When soldering, it's important to work carefully to avoid overheating the LEDs or causing short circuits. Make sure to use the right type of solder and a soldering iron with the appropriate temperature setting.
5. LED Strip Connector
LED strip connectors are a convenient alternative to soldering. They allow you to quickly and easily connect two or more pieces of Pixel LED Strips together or connect the strip to the power supply. There are different types of LED strip connectors available, including male - female connectors and butt connectors. RGBic LED Strip and other types of Pixel LED Strips can benefit from using these connectors for a hassle - free installation.
6. Double - Sided Tape or Mounting Clips
To secure the Pixel LED Strip in place, you'll need either double - sided tape or mounting clips. Double - sided tape is a popular choice as it's easy to use and provides a clean look. Most Pixel LED Strips come with pre - applied double - sided tape on the back. However, if you're installing the strip in a high - vibration or high - temperature environment, mounting clips may be a better option. They offer a more secure hold and can prevent the strip from coming loose over time.
7. Controller
A controller is used to adjust the color, brightness, and lighting effects of your Pixel LED Strip. There are various types of controllers available, from simple remote - controlled ones to more advanced Wi - Fi or Bluetooth - enabled controllers. For example, the WS2811 RGB LED Strip can be paired with a compatible controller to create stunning lighting displays. When choosing a controller, make sure it's compatible with your specific Pixel LED Strip.
8. Wire Strippers
If you need to make electrical connections using wires, wire strippers are essential. They are used to remove the insulation from the ends of the wires, allowing you to make a proper electrical connection. When using wire strippers, make sure to choose the right size for the wire you're working with to avoid damaging the wire.
9. Heat Shrink Tubing
Heat shrink tubing is used to protect and insulate electrical connections. After making a connection, you can slide a piece of heat shrink tubing over the connection and use a heat gun to shrink it. This creates a tight, protective seal around the connection, preventing short circuits and protecting the connection from moisture and other environmental factors.
10. Heat Gun
In addition to using it for heat shrink tubing, a heat gun can also be useful for softening the adhesive on the double - sided tape, making it easier to stick the Pixel LED Strip to the surface. When using a heat gun, make sure to keep it at a safe distance from the LED strip to avoid overheating and damaging the LEDs.
Conclusion
Installing a Pixel LED Strip can be a rewarding project that adds a lot of value to your space. By having the right tools on hand, you can ensure a successful installation. As a Pixel LED Strip supplier, I'm committed to providing high - quality products and supporting my customers throughout the installation process. If you're interested in purchasing Pixel LED Strips or have any questions about installation, I encourage you to reach out for a procurement discussion. We can work together to find the best solutions for your lighting needs.
References
- General knowledge from the LED lighting industry
- Product specifications and installation guides of Pixel LED Strips
