
What is the best way to mount a Pixel LED Strip?
Wed 12,2025
Leave a message
Hey there! As a supplier of Pixel LED Strips, I've had my fair share of experiences with mounting these awesome lighting products. And let me tell you, finding the best way to mount a Pixel LED Strip can make a world of difference in how your lighting project turns out. So, in this blog post, I'm gonna share with you what I think is the best way to mount a Pixel LED Strip.
First off, let's talk about what Pixel LED Strips are. Pixel LED Strips are basically strips of LEDs that can be individually controlled. This means you can create all sorts of cool lighting effects, like chasing lights, color fades, and more. They're super popular for all kinds of applications, from home decor to stage lighting.
Now, when it comes to mounting Pixel LED Strips, there are a few different methods you can choose from. But in my opinion, the best way is to use adhesive backing. Most Pixel LED Strips come with a self - adhesive backing on one side. This makes it really easy to stick the strip to almost any clean, flat surface.
Before you start sticking the strip down, you need to prepare the surface. Make sure the surface is clean and dry. Any dirt, dust, or grease can prevent the adhesive from sticking properly. You can use a mild detergent and a clean cloth to wipe down the surface, and then let it dry completely.
Once the surface is ready, carefully peel off the backing paper from the LED strip. Start at one end and slowly peel it back, being careful not to touch the adhesive with your fingers too much. Then, align the strip with the surface where you want to mount it. Press the strip firmly onto the surface, starting from one end and working your way to the other. Make sure there are no air bubbles or gaps between the strip and the surface. You can use a small roller or a credit card to smooth out the strip and ensure good adhesion.
Another important thing to consider when mounting Pixel LED Strips is the location. You want to choose a location that will show off the lighting effects to their best advantage. For example, if you're using the strip for home decor, you might want to mount it under cabinets, along the edges of shelves, or behind a TV. These locations can create a soft, ambient lighting effect that adds a lot of style to your space.
If you're mounting the strip in a place where it might get wet or exposed to moisture, like in a bathroom or outdoors, you need to take some extra precautions. Look for Pixel LED Strips that are waterproof or have a high IP rating. These strips are designed to withstand moisture and will last longer in wet conditions. You can also use silicone sealant around the edges of the strip to provide an extra layer of protection.
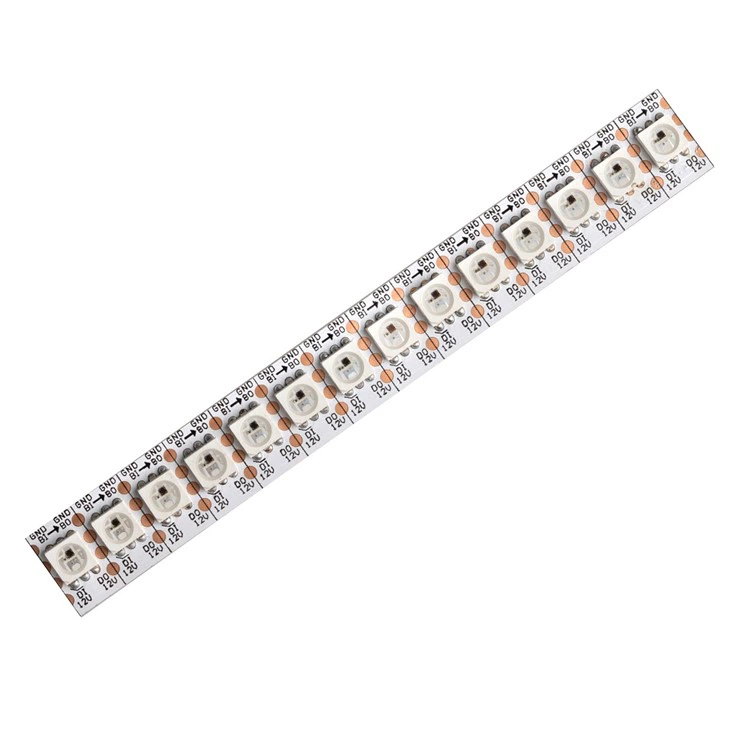
Now, let's talk about some of the products we offer. We have a great SPI RGB Strip 60leds Per Meter Addressable RGB Led Strip. This strip has 60 LEDs per meter, which means you can create really detailed and vibrant lighting effects. It's also addressable, so you can control each LED individually.
We also have the Addressable LED Strip 1 LED Cut. This strip is great because you can cut it every single LED if you need to customize the length. It gives you a lot of flexibility in your lighting projects.
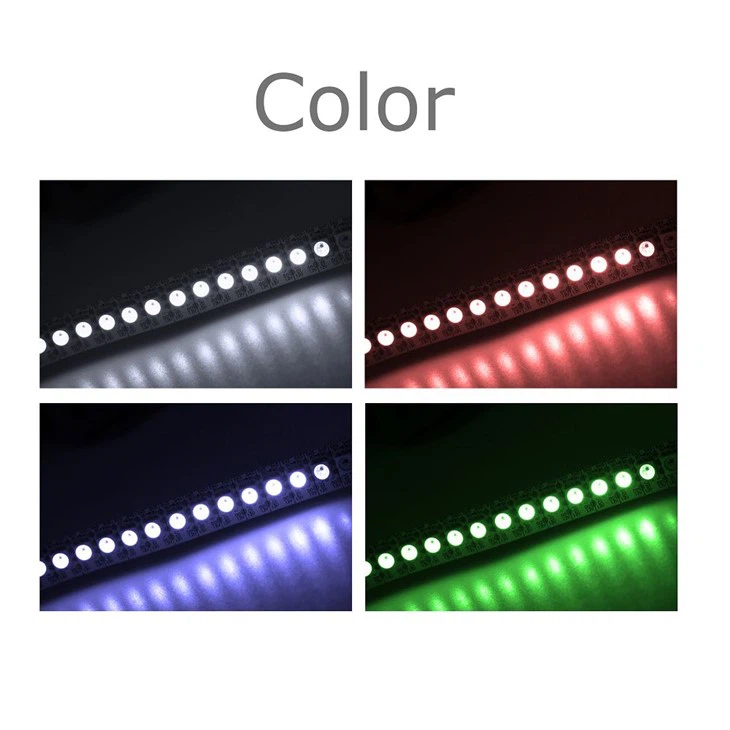
And then there's our RGBic LED Strip. This strip can create multiple colors at the same time along the length of the strip, which is really cool for creating unique and eye - catching lighting displays.
When you're mounting these strips, you might need some accessories. We offer things like connectors, power supplies, and controllers. Connectors are used to join two or more strips together, so you can create longer lengths of lighting. Power supplies are essential to provide the right amount of power to the LED strips. And controllers allow you to program different lighting effects and control the color and brightness of the LEDs.
If you're not comfortable doing the mounting yourself, you can always hire a professional electrician. They have the skills and experience to ensure that the strip is mounted safely and correctly. But if you're a DIY enthusiast, mounting the Pixel LED Strip yourself can be a fun and rewarding project.
In addition to adhesive mounting, there are other methods you can use in some cases. For example, if you're mounting the strip in a place where you might need to remove it later, you can use clips or brackets. There are special LED strip clips available that can hold the strip in place without using adhesive. This can be useful if you're using the strip for a temporary installation, like a party or an event.
One thing to keep in mind is that you need to make sure the strip is properly secured. Loose or poorly mounted strips can cause problems, like the LEDs not working correctly or the strip coming off the surface. So, take your time and do it right.
Finally, I want to encourage you to get in touch with us if you're interested in purchasing Pixel LED Strips. We're here to help you with any questions you might have about our products, mounting, or lighting design. Whether you're a homeowner looking to spruce up your living space or a professional lighting designer working on a big project, we have the right products and expertise to meet your needs.
In conclusion, the best way to mount a Pixel LED Strip is usually by using the adhesive backing, after properly preparing the surface. Choosing the right location, considering the environment, and using the right accessories are all important factors. And with our great range of Pixel LED Strips and accessories, you can create amazing lighting effects that will really make your space stand out. So, don't hesitate to reach out to us and start your lighting project today!
References
- General knowledge from years of experience in the Pixel LED Strip industry.
- Product specifications and guidelines provided by the manufacturers of our Pixel LED Strips.
