
How to connect the 2835 LED Strip 240 LED to a power source?
Thu 20,2025
Leave a message
Connecting a 2835 LED Strip 240 LED to a power source is a crucial step in bringing your lighting project to life. As a supplier of high - quality 2835 LED Strip 240 LED products, I understand the importance of providing clear guidance on this process. In this blog post, I'll walk you through the steps to safely and effectively connect your LED strip to a power source.

Understanding the 2835 LED Strip 240 LED
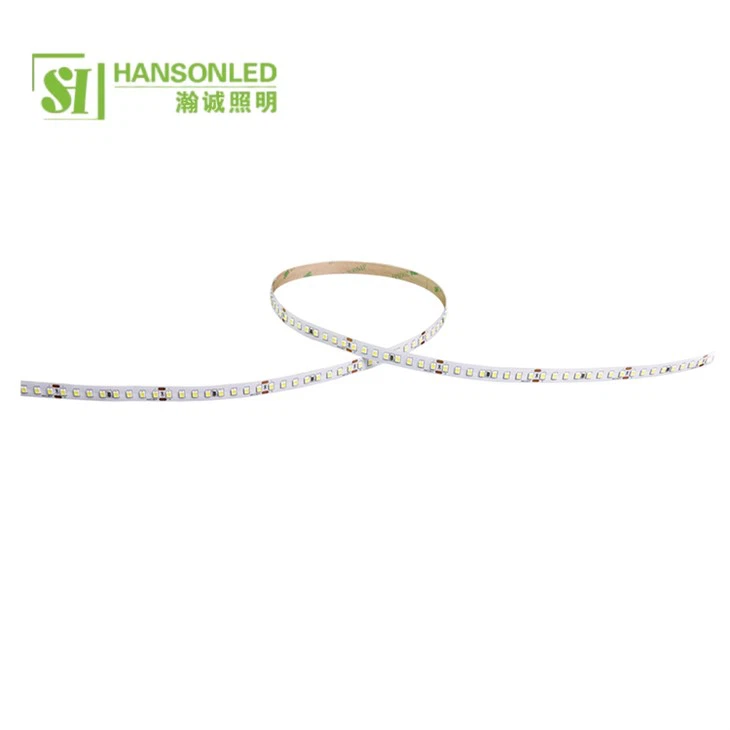
Before we dive into the connection process, let's briefly understand what the 2835 LED Strip 240 LED is. The "2835" refers to the size of the individual LEDs on the strip, which are 2.8mm x 3.5mm. The "240 LED" indicates that there are 240 LEDs per meter on the strip. These LED strips are known for their high brightness, energy efficiency, and long lifespan. They are commonly used in a variety of applications, including indoor and outdoor lighting, decorative lighting, and backlighting.
Tools and Materials You'll Need
- 2835 LED Strip 240 LED: Of course, you'll need the LED strip itself. Make sure to choose a high - quality strip from a reliable supplier like us.
- Power Source: Select a power source that is compatible with your LED strip. The most common power sources for 2835 LED strips are 12V or 24V DC power supplies. Check the specifications of your LED strip to determine the correct voltage.
- Connectors: You'll need appropriate connectors to connect the LED strip to the power source. These can include male and female connectors, soldering wire, and heat shrink tubing.
- Soldering Iron (Optional): If you're using soldering to make the connections, you'll need a soldering iron and solder. However, there are also solder - less connectors available that make the process easier.
- Wire Cutters and Strippers: These tools are essential for cutting and stripping the wires to make the connections.
Step - by - Step Guide to Connecting the LED Strip to a Power Source
Step 1: Prepare the LED Strip
- First, measure and cut the LED strip to the desired length. Most 2835 LED strips have cutting marks at regular intervals, usually every 3 or 6 LEDs. Make sure to cut along these marks to avoid damaging the LEDs.
- If you're using a solder - less connector, attach it to the end of the LED strip according to the manufacturer's instructions. If you're soldering, strip the ends of the wires on the LED strip carefully.
Step 2: Choose the Right Power Source
- Check the voltage requirements of your 2835 LED Strip 240 LED. As mentioned earlier, it's usually 12V or 24V DC. Select a power supply with the appropriate voltage and sufficient wattage to power the entire length of the LED strip.
- For example, if your LED strip has a power consumption of 14.4W per meter and you have a 5 - meter strip, you'll need a power supply with a wattage of at least 72W (14.4W x 5m).
Step 3: Connect the LED Strip to the Power Source
- Using Solder - less Connectors:
- Connect the male connector on the power supply cable to the female connector on the LED strip. Make sure the positive (+) and negative (-) terminals are correctly aligned. Most LED strips have markings indicating the positive and negative sides.
- Once the connectors are securely attached, you can test the connection by turning on the power supply.
- Using Soldering:
- Strip the ends of the wires on the power supply cable and the LED strip.
- Heat the soldering iron and apply a small amount of solder to the tip.
- Touch the soldering iron to the wire on the LED strip and the corresponding wire on the power supply cable. As the solder melts, it will create a strong electrical connection.
- After soldering, cover the connections with heat shrink tubing and use a heat gun to shrink the tubing and protect the connections.
Step 4: Secure the Connections
- Whether you're using solder - less connectors or soldering, it's important to secure the connections to prevent them from coming loose. You can use electrical tape or cable ties to hold the wires in place.
Step 5: Test the LED Strip
- Before installing the LED strip in its final location, turn on the power supply and check if the LEDs are working properly. If any LEDs are not lighting up, check the connections to make sure they are secure and the polarity is correct.
Other Considerations
- Heat Dissipation: 2835 LED strips can generate heat, especially when running at full brightness. Make sure to install the LED strip in a well - ventilated area to prevent overheating.
- Waterproofing: If you're using the LED strip in an outdoor or wet environment, choose a waterproof LED strip and make sure the connections are also waterproof.
- Dimming: If you want to be able to adjust the brightness of the LED strip, you can use a dimmer switch. Make sure the dimmer switch is compatible with your LED strip and power supply.
Related Products
If you're interested in other LED strip products, we also offer 2835 LED Strip 120 LED and 2835 LED Strip 60 LED. These strips have fewer LEDs per meter, which may be suitable for applications where lower brightness is required. Additionally, our 5mm LED Strip Light is another popular option for various lighting projects.
Conclusion
Connecting a 2835 LED Strip 240 LED to a power source is a relatively straightforward process if you follow the steps outlined above. By choosing the right power source, using the appropriate connectors, and ensuring proper installation, you can enjoy the beautiful and energy - efficient lighting provided by these LED strips.
If you have any questions about our 2835 LED Strip 240 LED products or need further guidance on connecting them to a power source, please don't hesitate to contact us. We're here to help you with all your lighting needs and look forward to discussing your procurement requirements.
References
- General knowledge of LED strip technology and installation from industry experience.
- Manufacturer's specifications and guidelines for 2835 LED strips.
