
How to install an LED light bar on a ceiling?
Wed 07,2026
Leave a message
Installing an LED light bar on a ceiling can transform the ambiance of any room, providing bright, energy - efficient illumination. As an experienced LED light bar supplier, I'm here to guide you through the process, step by step. Whether you're looking for a Waterproof LED Light Bar for a damp area or a LED Light Bar for general use, or a CCT LED Lens Bar, Dual Color Led Lens Bar ,color Changeable Lens Bar to add a touch of versatility to your lighting, this guide will help you get the job done right.
Pre - installation Preparation
Before you start the installation process, there are several important steps to take. First, plan your lighting layout. Consider the size and shape of the room, as well as the function of the space. For example, in a kitchen, you may want to place the light bars above the countertops for task lighting. In a living room, they can be used to create a soft, ambient glow.
Next, gather all the necessary tools. You'll need a drill, screwdriver, measuring tape, wire strippers, and a voltage tester. Safety should always be your top priority, so make sure to turn off the power at the circuit breaker before you begin any electrical work.
Choosing the Right LED Light Bar
The market is full of various LED light bars, so it's crucial to select the one that best suits your needs. If you're installing the light bar in a bathroom or outdoors, a Waterproof LED Light Bar is a must. It has a protective casing that prevents water damage.
For rooms where you might want to adjust the color temperature, a CCT LED Lens Bar, Dual Color Led Lens Bar ,color Changeable Lens Bar is a great option. You can switch between warm and cool white light, depending on the mood you want to create.
And for general lighting purposes, a regular LED Light Bar will do the job. Look for light bars with high lumen output for brighter illumination and a good color rendering index (CRI) to ensure accurate color representation.
Measuring and Marking the Mounting Location
Once you've chosen your LED light bar, it's time to measure and mark the mounting location on the ceiling. Use a measuring tape to ensure that the light bar will be centered and level. Mark the holes for the mounting brackets with a pencil. Make sure to double - check your measurements, as any mistakes at this stage can lead to an uneven installation.
Mounting the Brackets
With the mounting locations marked, it's time to install the brackets. Use a drill to make holes in the ceiling at the marked spots. Then, insert wall anchors into the holes if necessary, especially if you're working with drywall. Secure the brackets to the ceiling using screws and a screwdriver. Make sure the brackets are firmly attached and level.
Connecting the Wires
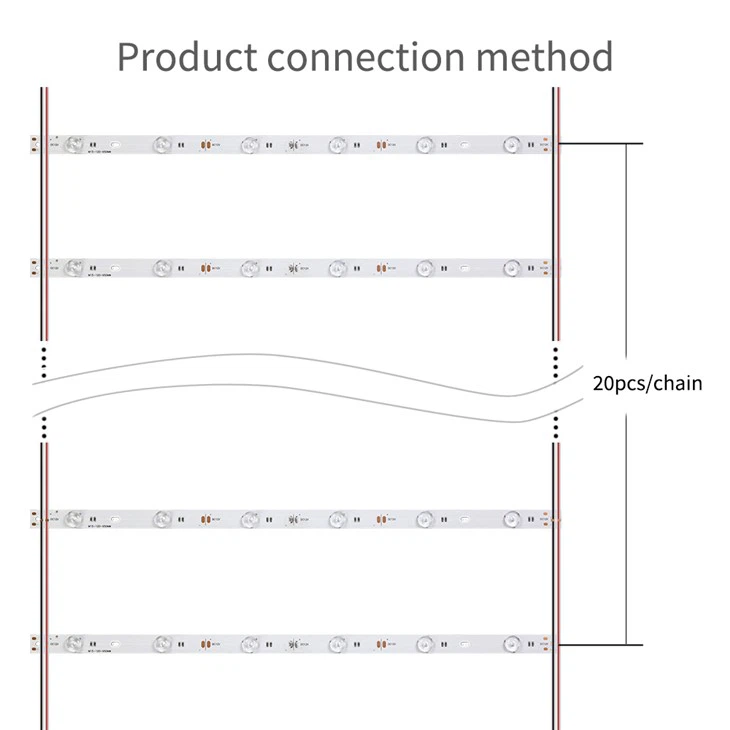
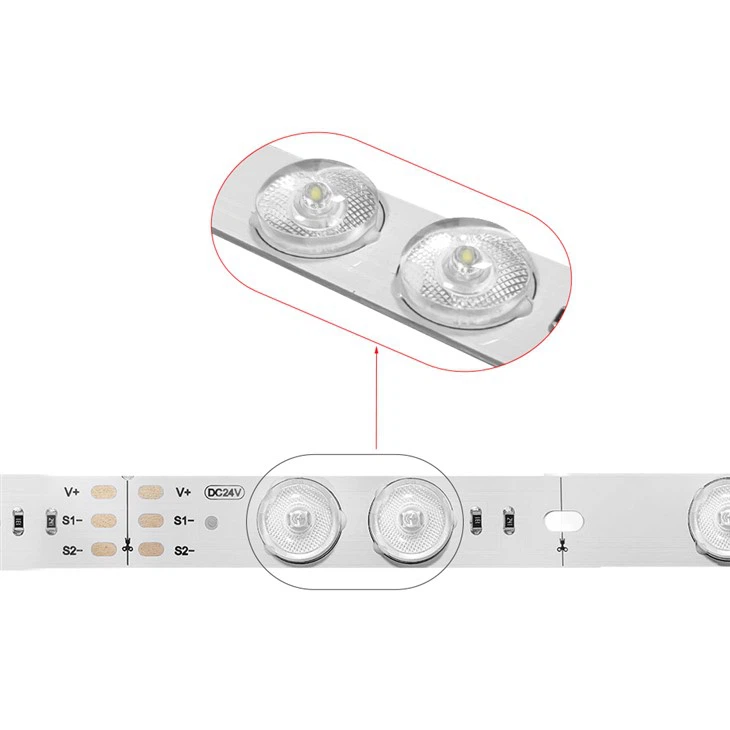
Before connecting the wires, use a voltage tester to ensure that the power is off. This is a critical safety step. Most LED light bars come with a power cord and connectors. Strip the ends of the wires using wire strippers. Connect the wires from the light bar to the power supply wires, following the manufacturer's instructions. Usually, this involves matching the positive and negative wires.
If you're not confident in your electrical skills, it's advisable to hire a professional electrician to handle the wiring. Incorrect wiring can lead to electrical hazards, such as short circuits or fires.
Attaching the LED Light Bar to the Brackets
Once the wiring is complete, carefully attach the LED light bar to the brackets. Make sure it fits snugly and is properly aligned. Some light bars may require additional fasteners, so follow the manufacturer's guidelines.
Testing the Installation
After the light bar is attached, it's time to test the installation. Turn the power back on at the circuit breaker. If the light bar doesn't turn on, double - check the wiring connections and make sure the power supply is working. If you still encounter problems, refer to the troubleshooting section of the light bar's manual or contact the manufacturer for assistance.
Finishing Touches
Once the light is working properly, you can add some finishing touches. You may want to paint the brackets to match the ceiling color for a more seamless look. Also, make sure to clean up any debris or dust from the installation process.
Maintenance and Care
To ensure the longevity of your LED light bar, regular maintenance is required. Keep the light bar clean by dusting it regularly with a soft, dry cloth. Avoid using abrasive cleaners, as they can damage the surface of the light bar. If you have a waterproof light bar, make sure to check the seals periodically to ensure they're still intact.
Conclusion
Installing an LED light bar on a ceiling is a rewarding DIY project that can enhance the look and functionality of your space. By following these steps and using the right products, you can achieve a professional - looking installation. As a leading LED light bar supplier, we're committed to providing high - quality products and excellent customer service. If you have any questions about our Waterproof LED Light Bar, LED Light Bar, or CCT LED Lens Bar, Dual Color Led Lens Bar ,color Changeable Lens Bar, or if you're interested in purchasing our products for your next project, don't hesitate to contact us for procurement discussions.
References
- General knowledge on LED lighting technology and installation practices.
- Manufacturer's manuals for various LED light bars.
