
How to install a high voltage LED strip on a glass surface?
Mon 04,2025
Leave a message
Hey there! I'm a supplier of high voltage LED strips, and today I'm gonna walk you through the process of installing a high voltage LED strip on a glass surface. It might seem a bit tricky at first, but with the right steps and a bit of patience, you'll have your glass surface looking amazing in no time.
Why Choose High Voltage LED Strips?
Before we dive into the installation process, let's quickly talk about why high voltage LED strips are a great choice. High voltage LED strips offer a few key advantages. First off, they can provide a more powerful and consistent light output compared to low voltage ones. This means you'll get a brighter and more even illumination on your glass surface.
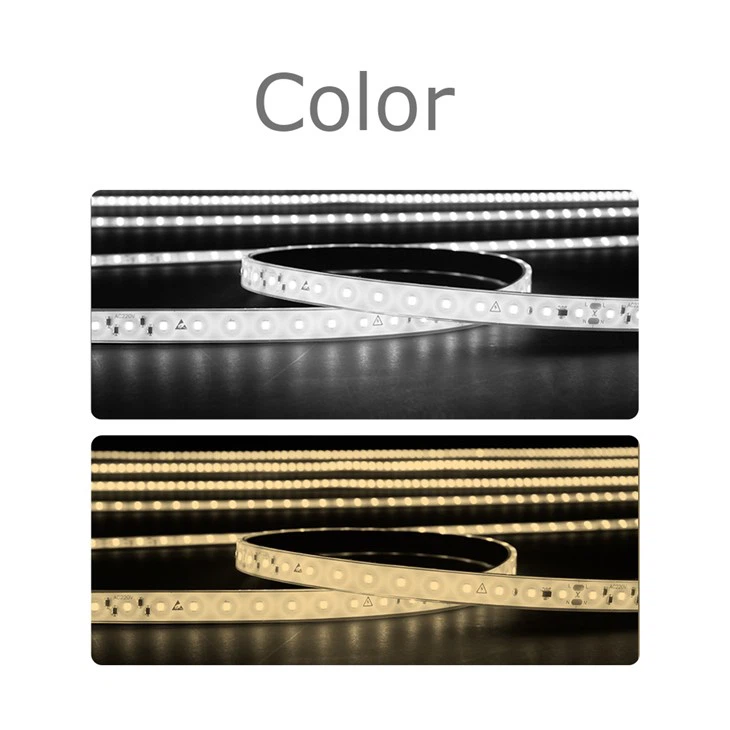
We offer two popular options: High Voltage LED Strip 60 LED and High Voltage LED Strip 120 LED. The 60 LED version is perfect for smaller areas or when you want a more subtle lighting effect. On the other hand, the 120 LED strip is great for larger glass surfaces or if you're looking for a really bright and eye - catching display.
Tools and Materials You'll Need
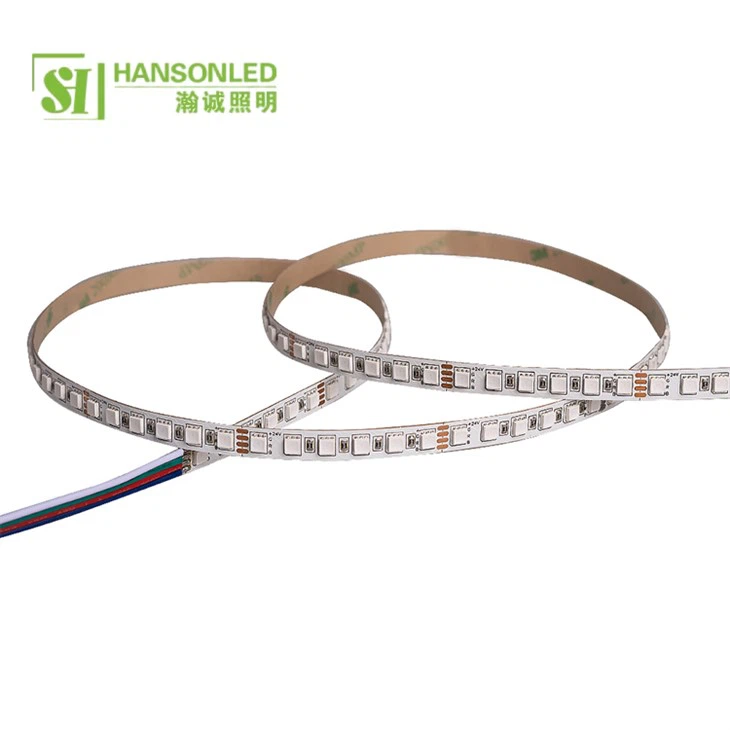
- High Voltage LED Strip: Choose the one that suits your needs, either the 60 LED or 120 LED version.
- Power Supply: Make sure it's compatible with your high voltage LED strip. You don't want to fry your LEDs!
- Adhesive Tape: Special adhesive tape that can stick well to glass. You can find this at most hardware stores.
- Scissors or a Utility Knife: For cutting the LED strip to the right length.
- Soldering Iron (Optional): If you need to make any electrical connections, a soldering iron can come in handy.
- Measuring Tape: To measure the length of the glass surface and cut the LED strip accordingly.
- Safety Gear: Gloves and safety glasses to protect yourself during the installation process.
Step 1: Prepare the Glass Surface
The first step is to make sure your glass surface is clean and dry. Any dirt, dust, or grease on the glass can prevent the adhesive tape on the LED strip from sticking properly. You can use a glass cleaner and a microfiber cloth to wipe down the surface. Start from one corner of the glass and work your way across, making sure to get rid of all the smudges and fingerprints.
Let the glass dry completely before moving on to the next step. You can use a dry cloth to speed up the drying process if you're in a hurry.
Step 2: Measure and Cut the LED Strip
Use your measuring tape to measure the length of the glass surface where you want to install the LED strip. Once you have the measurement, mark the LED strip at the appropriate length. You can then use your scissors or utility knife to cut the LED strip.
Most high voltage LED strips have cutting marks at regular intervals. Make sure to cut along these marks to avoid damaging the LEDs. If you're not sure, it's better to cut a bit longer than you need and trim it down later.
Step 3: Attach the Adhesive Tape
Peel off the backing of the adhesive tape on the LED strip. Be careful not to touch the sticky side of the tape with your fingers, as the oils on your skin can reduce its stickiness. Start at one end of the glass surface and carefully place the LED strip with the adhesive side down on the glass. Press the strip firmly onto the glass, making sure it's straight and there are no air bubbles trapped underneath.
If you're installing the LED strip on a curved glass surface, you might need to bend the strip gently as you go. Just be careful not to bend it too much, as this can damage the LEDs.
Step 4: Connect the Power Supply
This is an important and potentially dangerous step, so make sure you follow the instructions carefully. First, turn off the power supply to avoid any electrical shocks. Connect the positive and negative wires of the LED strip to the corresponding terminals on the power supply. If you're using a soldering iron, you can solder the connections for a more secure and reliable connection.
Once the connections are made, double - check them to make sure there are no loose wires. Then, turn on the power supply and test the LED strip. If the LEDs don't light up, check your connections again to make sure everything is properly connected.
Step 5: Secure the LED Strip (Optional)
If you want to make sure the LED strip stays in place even better, you can use some additional clips or brackets to secure it to the glass surface. You can find these at hardware stores. Just make sure not to damage the LED strip when attaching the clips or brackets.
Step 6: Final Checks
After the installation is complete, give the LED strip another once - over. Check for any loose connections, make sure the LEDs are all working properly, and that the strip is firmly attached to the glass. You can also check the light output to see if it meets your expectations.
Troubleshooting
- LEDs Not Lighting Up: Check the power supply to make sure it's turned on and providing the correct voltage. Also, check the connections between the LED strip and the power supply to make sure they're secure.
- Uneven Light Output: This could be due to a damaged LED or a poor connection. Check the strip for any damaged LEDs and make sure all the connections are good. You might need to replace the damaged LED or resolder the connection.
- LED Strip Not Sticking: Make sure the glass surface is clean and dry. You might also need to use a better quality adhesive tape or re - attach the strip.
Conclusion
Installing a high voltage LED strip on a glass surface can be a fun and rewarding project. With the right tools, materials, and a bit of know - how, you can transform any glass surface into a beautiful and illuminated display. Whether you're using it for a home decor project, a commercial display, or something else, our High Voltage LED Strip 60 LED and High Voltage LED Strip 120 LED are great options.
If you're interested in purchasing high voltage LED strips for your next project, don't hesitate to get in touch. We're here to help you with any questions you might have and to make sure you get the right products for your needs.
References
- General knowledge about LED strip installation from hardware and lighting industry experience.
- Product specifications and guidelines from high voltage LED strip manufacturers.
